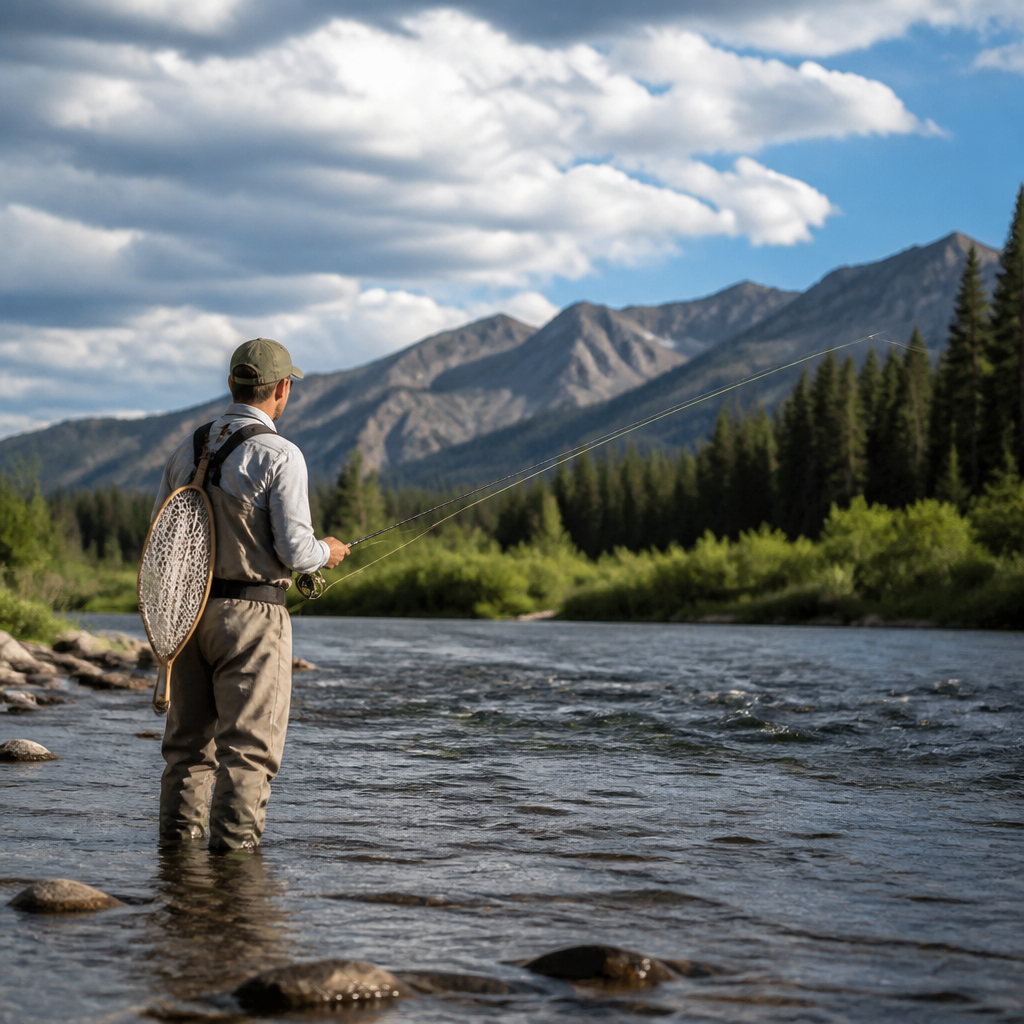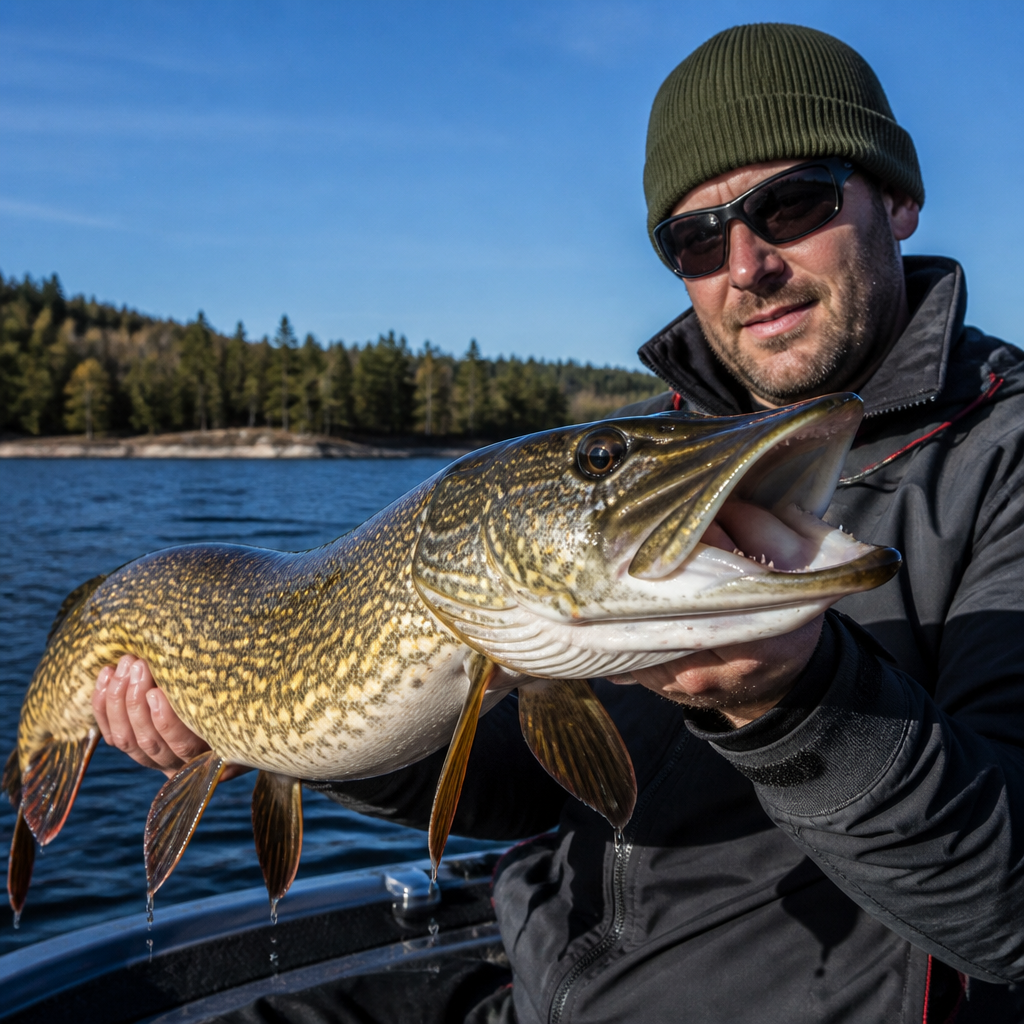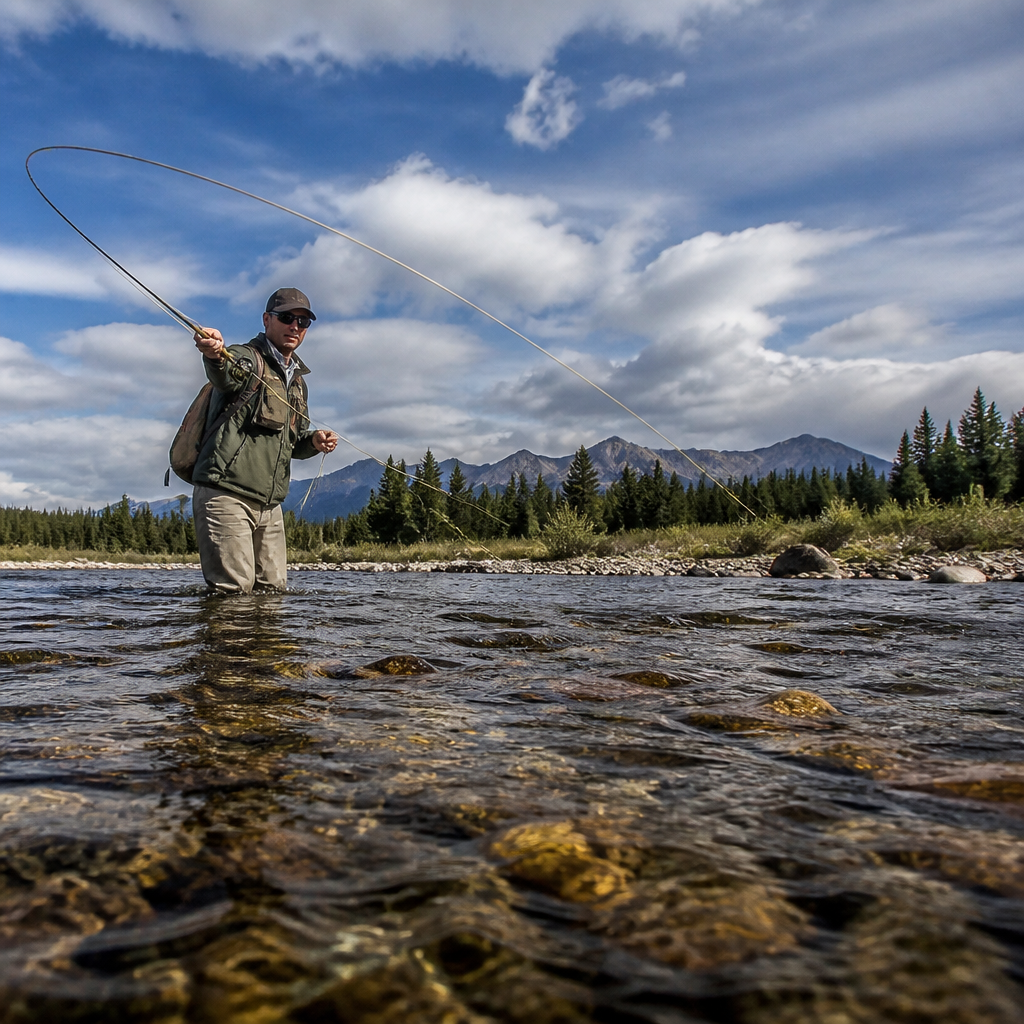
Fly fishing photography turns two demanding disciplines into one craft: reading water and fish behavior while also controlling light, focus, exposure, and timing. In practice, advanced techniques go far beyond taking a grip-and-grin shot at the end of a successful day. They involve anticipating a rise before it happens, protecting fish while documenting the moment, working in reflective environments that fool camera meters, and building a repeatable field workflow that produces sharp, usable images in harsh conditions. When I plan a serious day of shooting on trout water, I think like an angler first and a photographer second, because the best frames come from understanding how fish, current, weather, and anglers interact over time.
For this topic, “advanced” does not mean expensive gear alone. It means deliberate control. That includes balancing shutter speed against line motion, choosing autofocus modes that can track an angler’s face under a brimmed hat, exposing for chrome highlights on a salmon while retaining texture in dark waders, and composing scenes that show the environment instead of isolating every subject against blurred backgrounds. It also means using tools such as circular polarizers, weather-sealed bodies, off-camera flash, waterproof packs, and color-managed editing software with restraint. The goal is not to make fly fishing look artificial. The goal is to render the experience faithfully, clearly, and beautifully.
This hub page covers the advanced techniques that matter most to serious anglers, guides, brand creators, and editorial photographers. You will see how to plan a shoot around insect activity and river structure, how to photograph casting, fish handling, and release sequences, how to manage camera settings in rapidly changing light, and how to edit images so they look natural in print, on websites, and across social channels. You will also find practical guidance on safety, fish welfare, and storytelling. Used together, these methods help you create images that teach, sell, document, and inspire without sacrificing the ethics at the heart of fly fishing.
Pre-visualization, river reading, and shot planning
The strongest fly fishing photography starts before the first cast. On assignment and during personal shoots, I scout water almost exactly the way I would scout a new beat: I look for current seams, soft edges, gravel bars, undercut banks, tree cover, and angles where fish are likely to hold or rise. Those observations tell me where the action may happen, but they also tell me where I can place myself safely and where backgrounds will simplify rather than clutter the frame. A run with a clean downstream bend often gives you layered composition: angler in the foreground, drift lane in the midground, and valley walls or timber in the distance.
Timing matters just as much as location. Caddis activity in the last hour of light produces very different imagery from a nymphing session under high noon sun. Golden hour can deliver warm skin tones and soft contrast, but many memorable fish images happen under overcast skies because cloud cover acts like a giant diffuser. Overcast conditions also reduce specular highlights on water and fish. If I expect a midday shoot, I plan for shade, side-light, or backlight and build frames around river texture, line shape, and gesture rather than hoping for flattering front light.
Advanced planning also means creating a shot list. A complete hub-level fly fishing gallery usually includes wide environmental scenes, medium working shots, close details of flies and hands, casting sequences, hook-set moments, fish-in-water portraits, release frames, and supporting scenes such as knot tying, rowing, walking banks, or reading hatches. This approach creates internal structure for a larger content package and ensures that the story does not depend on a single hero fish. Editors, outfitters, and guides consistently value complete visual narratives more than isolated trophy images.
Camera settings for moving water, line speed, and decisive moments
Water is deceptively hard to photograph because it is both reflective and constantly changing. Fly line adds another layer of difficulty because it moves quickly and unpredictably. For most advanced fly fishing photography, I work in manual exposure with auto ISO or aperture priority with exposure compensation, depending on how stable the light is. Manual exposure is best when the background shifts between bright water and dark trees. It prevents the meter from changing exposure every time the angler turns or the composition changes by a few degrees.
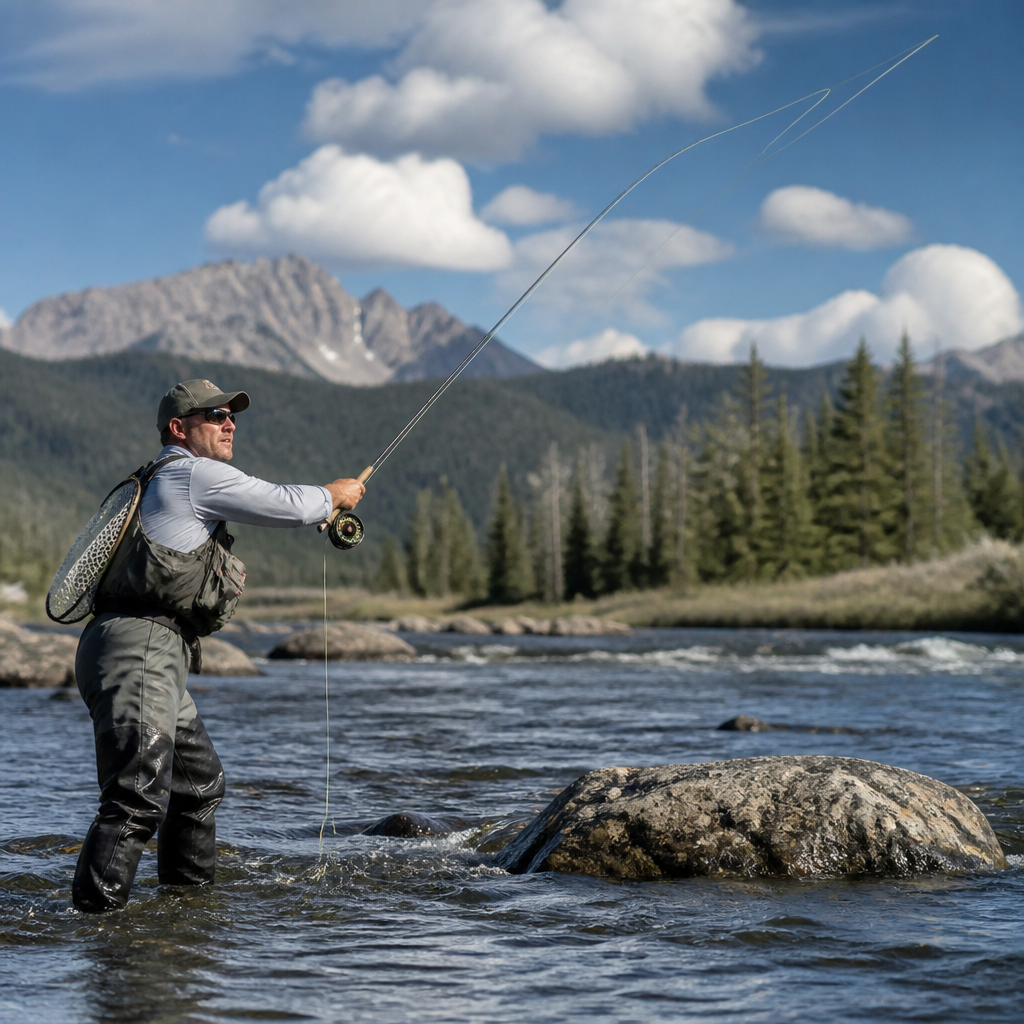
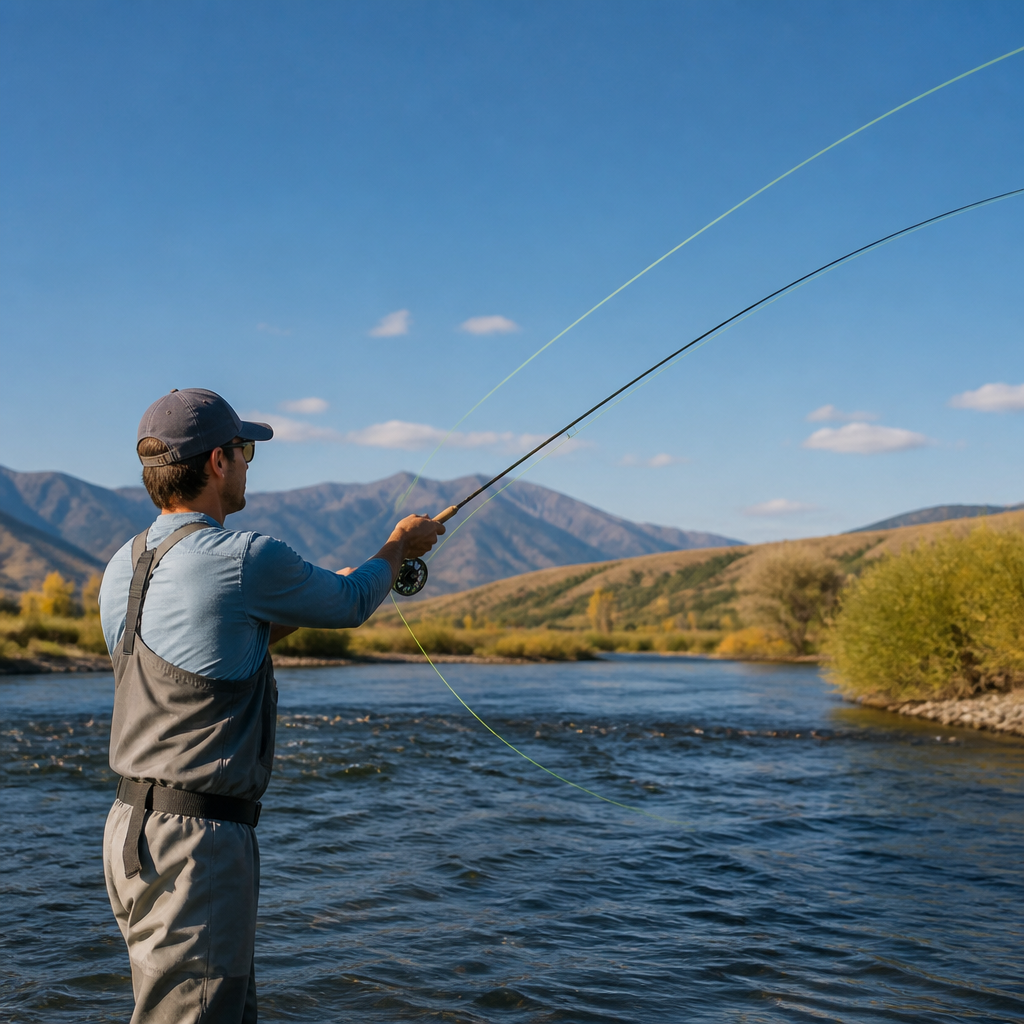
Shutter speed should match the story you want to tell. To freeze a forward cast, mend, or boat-side release splash, 1/1600 to 1/3200 second is often appropriate. For general fishing action, 1/1000 second is a reliable baseline. If you want to preserve a sense of motion in the fly line or flowing water, 1/320 to 1/640 second can work, but it demands careful panning and many frames. Aperture depends on subject separation and lens choice. With a 70-200mm lens, f/2.8 can isolate the angler beautifully, but I often stop down to f/4 or f/5.6 because hats, rods, and fish extend through depth in ways that make ultra-shallow focus impractical.
Autofocus settings should be chosen intentionally. Continuous AF, subject tracking, and back-button focus are the most reliable combination for active scenes. Eye-detect autofocus works well on modern bodies from Canon, Nikon, and Sony, but water glare, sunglasses, buffs, and hat brims can still confuse it. In those cases, I switch quickly to a flexible point or small zone over the face or upper torso. Burst shooting is useful, yet disciplined bursts are better than spraying. The exact frame where the loop unrolls cleanly, the fish turns broadside, or the release sends a V-shaped wake often lasts less than a quarter second.
Lenses, filters, and field gear that solve real problems
Advanced fly fishing photography does not require an enormous kit, but every item should address a real field problem. A versatile setup often includes a weather-sealed camera body, a 24-70mm lens for environmental and boat work, and a 70-200mm lens for compressed action and fish handling from a respectful distance. A 16-35mm wide-angle lens is excellent when you want to place the angler inside a dramatic canyon, spring creek, or coastal estuary. For details, a macro-capable lens helps with flies, reels, and insect life stages such as emergers, duns, and spinners.
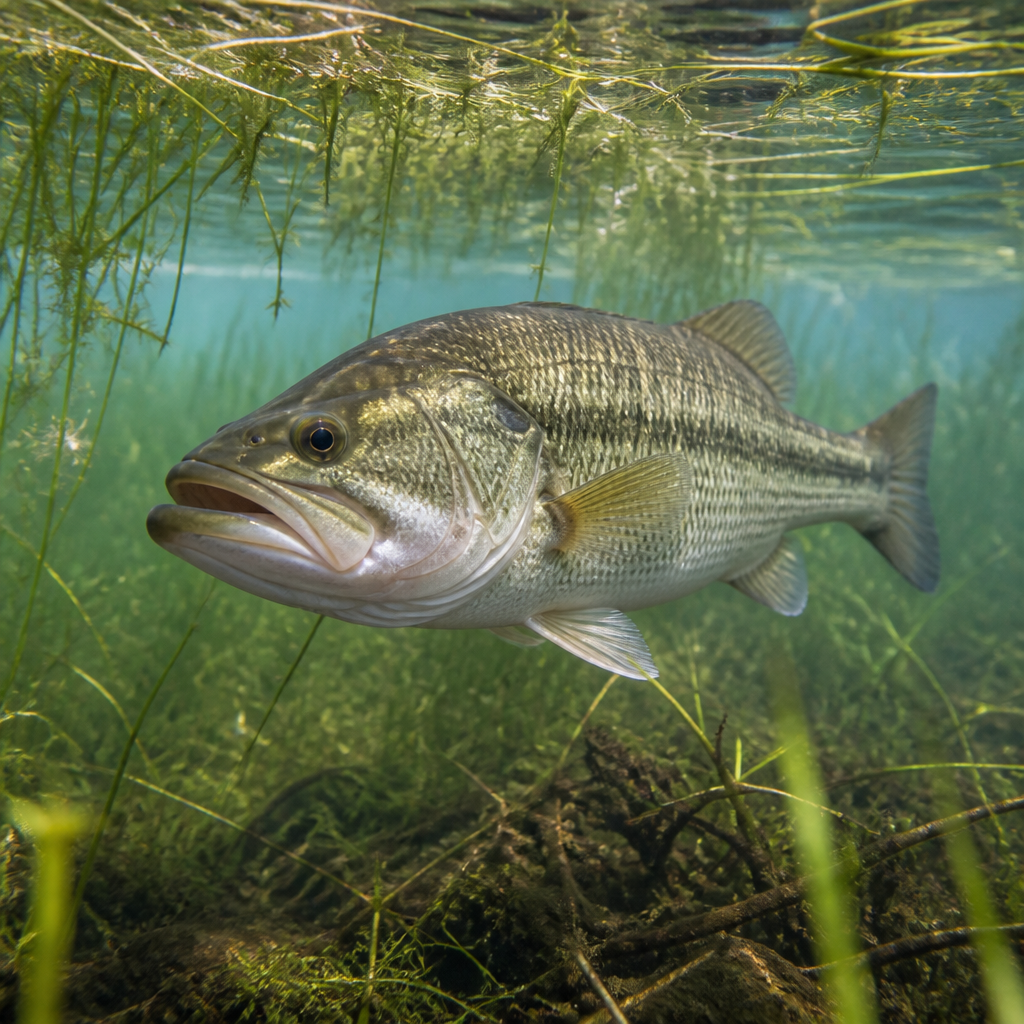
A circular polarizer is one of the most useful tools on the river. It cuts surface glare, deepens sky tone, and can reveal rocks or fish shapes under the water. However, it also reduces light, typically by around one to two stops, and can create uneven sky polarization with ultra-wide lenses. I use it constantly for fish-in-water frames and for midday scenes where reflections flatten detail. A lens hood is equally important. Spray, drizzle, and side light all reduce contrast, and a hood prevents many avoidable problems before editing ever begins.
Protection and access matter as much as optics. Waterproof backpacks from brands such as Fishpond, Simms, and Patagonia keep bodies and lenses dry during wades, boat launches, and sudden storms. Dry bags inside the main pack add redundancy. Microfiber cloths should be accessible in multiple pockets because one cloth quickly becomes soaked or sandy. Spare batteries drain faster in cold weather, especially on tailwaters and steelhead rivers. If you shoot from a drift boat, raft, or skiff, tethering key gear is not optional. I have seen a dropped camera disappear faster than most anglers expect.
| Scenario | Recommended focal length | Typical settings | Why it works |
|---|---|---|---|
| Wide river landscape with angler | 16-35mm | f/8, 1/500, ISO as needed | Keeps environment prominent and maintains depth |
| Single caster from bank or boat | 24-70mm | f/4, 1/1600, Auto ISO | Balances context with subject clarity during motion |
| Hook-set or fish fight at distance | 70-200mm | f/4 to f/5.6, 1/2000, Auto ISO | Compresses scene and isolates decisive action |
| Fish in net at water level | 24-70mm or 70-200mm | f/5.6, 1/1000, polarizer if glare is heavy | Preserves detail in fish and surrounding water texture |
| Fly, reel, and hand details | Macro or close-focus zoom | f/5.6 to f/8, 1/500, controlled angle to light | Captures texture, materials, and craftsmanship sharply |
Composition that tells a fishing story instead of just showing a catch
Composition in fly fishing photography should communicate more than possession. The best frames show effort, habitat, and sequence. A common beginner mistake is centering the angler in every image and cropping too tightly on the fish. Advanced composition uses layers, leading lines, and negative space. The line of a rod can point the eye into current seams. A drift boat gunwale can frame the lower edge of the image. Reeds, boulders, and overhanging limbs can create natural borders that place the viewer inside the river corridor rather than outside it.
Perspective changes everything. Standing upright on the bank often produces ordinary images because the camera sees what every bystander sees. Kneeling low near the waterline makes fish appear integrated with the river, increases foreground texture, and elevates mountain or forest backdrops. Shooting slightly upstream can emphasize current and drift direction. Shooting downstream often lets you capture an angler’s expression as line comes tight. If the scene allows it, moving three steps left or right can remove distracting bright rocks, road signs, other anglers, or dead branches that would otherwise pull attention away from the subject.
Storytelling also improves when you vary shot scale and sequence. A complete advanced series might begin with boots entering the water, move to a close frame of an olive perdigon or a size 16 parachute Adams being tied on, then show false casts against backlight, a visible take, the bend of the rod, the fish in current, and a clean release. This kind of sequencing is invaluable for guide websites, magazine features, trip reports, and educational articles because each image answers a different question: where are we, what are we doing, why did it work, and how was the fish treated?
Photographing fish ethically: handling, release, and fish welfare
Ethics are central to advanced fly fishing photography because poor handling practices are immediately visible and increasingly scrutinized. The rule I follow is simple: if the image requires unnecessary stress on the fish, it is not worth making. Fish should remain in the water as much as possible, especially trout in warm conditions. Keep nets submerged, prepare the composition before lifting if a brief lift is necessary, and limit air exposure. Research frequently cited by fisheries professionals and conservation groups points to air exposure as a significant stressor, particularly when combined with elevated water temperatures.
Wet hands before contact, avoid squeezing the body, and support the fish gently under the belly or at the wrist of the tail only when appropriate for the species. Never place fish on dry rocks, sand, or boat carpet for convenience. For images, water-level fish portraits are both more ethical and often more beautiful. They preserve the iridescence of trout, char, and salmon while showing the fish in its natural element. A submerged net can create a stable platform for a quick frame, particularly when the angler and photographer have already agreed on where to position hands and eyes.
Species and conditions matter. Steelhead in cold water can often tolerate brief handling better than trout during late-summer heat, but that is not permission for careless behavior. Barbless hooks speed releases and reduce the time needed to stage a shot. If a fish is deeply tired, skip the photo entirely. Advanced photographers know when not to press for content. That judgment builds trust with guides, outfitters, clients, and conservation-minded audiences. In the long run, a reputation for ethical work is more valuable than any single dramatic frame.
Light control, flash technique, and editing for natural results
Natural light is usually the backbone of fly fishing photography, but advanced work often benefits from subtle control. Open shade along cut banks or beneath tree cover can produce soft portraits of anglers rigging up or examining flies. Backlight can illuminate spray, loops of line, and fine mist, creating depth that flat front light cannot. The challenge is exposure. Expose for highlights on water and fish first, then recover shadows carefully in post. Modern RAW files from full-frame and APS-C cameras offer substantial latitude, but clipped highlights on silver fish or white strike indicators are difficult to restore convincingly.
Flash has a place, particularly at dawn, dusk, under forest canopies, or when documenting gear details. The key is restraint. A small off-camera flash with a softbox or diffuser can lift an angler’s face under a cap without making the image look staged. High-speed sync is useful for balancing flash with fast shutter speeds during casts, though it reduces flash power. I prefer flash that supplements ambient light by roughly one stop or less. If viewers immediately notice the flash, it is probably too strong for most editorial-style fishing images.
Editing should refine, not rewrite. In Lightroom, Capture One, or Photo Mechanic plus a RAW editor, I start with white balance, highlight recovery, shadow control, and lens corrections. HSL adjustments can tame oversaturated greens common in river corridors and preserve realistic trout coloration. Sharpening should target fine texture in flies, scales, and fabric without producing halos around rods or line. Noise reduction is useful for high-ISO dawn sessions, but too much destroys water texture. Final crops should respect rod tip direction and casting space. For a hub article and related pages, consistent color and tonal treatment help the entire subtopic feel cohesive and professional.
Workflow, safety, and building a complete advanced techniques library
A strong fly fishing photography workflow protects files, speeds delivery, and supports future content across the broader techniques and strategies cluster. In the field, dual card slots provide immediate backup, and disciplined captioning saves time later. I record river, species, hatch, method, location specificity at an appropriate level, and names of anglers or guides. Those details become useful for galleries, educational resources, newsletters, and product pages. Back at the desk, cull first for sharpness and gesture, then for story coverage. A single excellent fish photo is not enough for a serious library; you need variety by season, method, species, weather, and water type.
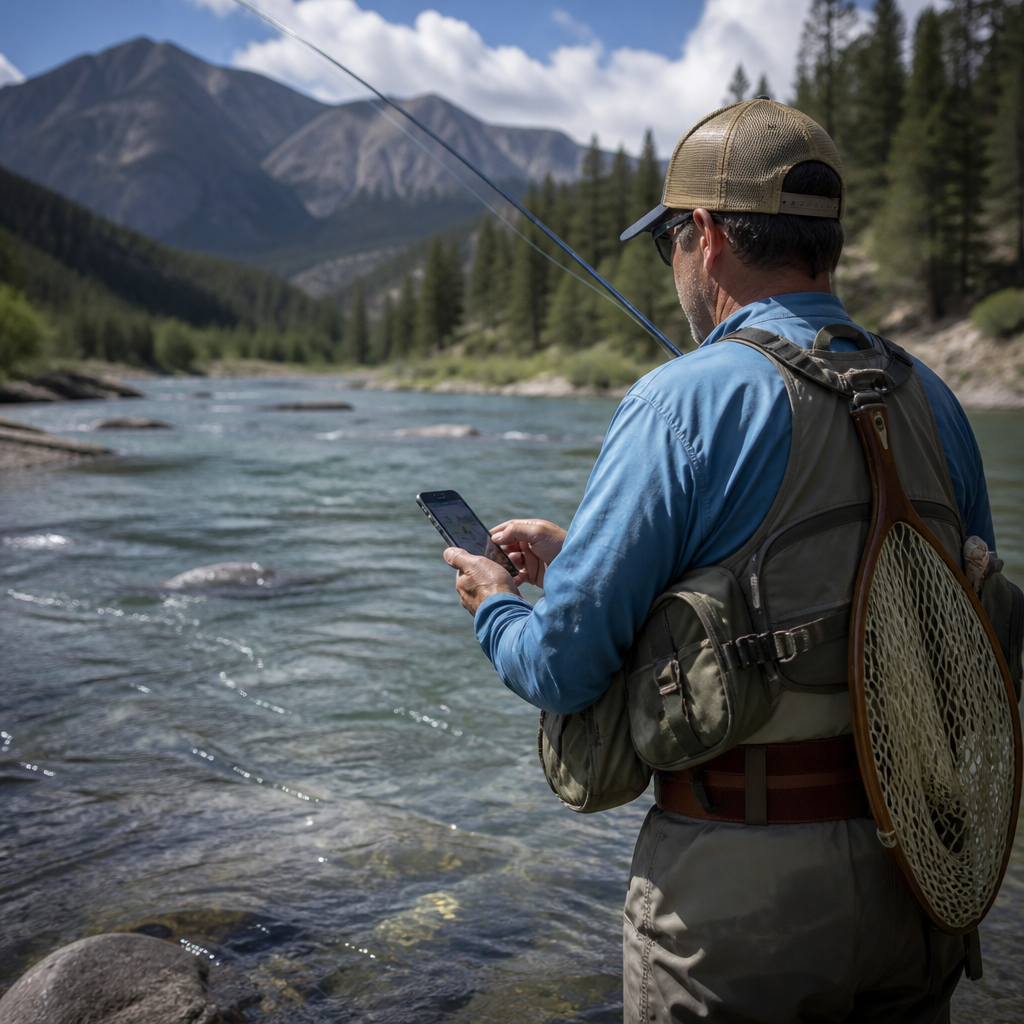
Safety is inseparable from workflow. Wading photographers are distracted photographers, so boots, traction, staff use, and communication matter. Agree on signals before moving around a casting angler. Never step into the back-cast zone, and avoid asking for repeated hero sequences in unstable water. From boats, keep one hand free when repositioning, and stow loose lenses before rapids, anchor drops, or beach landings. Phones and GPS devices should be accessible for emergencies, not buried under layers of rain gear. The best river image is never worth a fall, a hook injury, or a damaged fishery resource.
Advanced techniques ultimately come down to intent. Know the hatch, know the light, know the story, and know when to keep the camera down. If you want better fly fishing photography, start by planning one complete sequence on your next trip: landscape, rigging, casting, action, fish-in-water portrait, and release. Review the files critically, note where timing or ethics slipped, and refine from there. Over time you will build images that are not only sharper and more dramatic, but also more honest to the sport. That is the real advantage of advanced technique, and it is the standard worth pursuing on every river day.
Frequently Asked Questions
What makes fly fishing photography “advanced” compared with standard outdoor or fishing photos?
Advanced fly fishing photography is less about owning expensive gear and more about managing a difficult combination of variables at the same time. You are working in a wet, reflective environment where light changes quickly, fish behavior is unpredictable, and the most meaningful moments often last only a second or two. Unlike casual fishing snapshots, advanced work requires you to anticipate action before it happens, understand how water affects autofocus and exposure, and make camera decisions without interrupting the fishing rhythm or stressing the fish.
In practical terms, advanced technique means reading the scene as carefully as you read the river. You are watching for rise forms, line angles, current seams, casting loops, backlight on spray, and the split-second expression on an angler’s face when a fish commits. You are also thinking ahead about shutter speed, burst timing, focus mode, exposure compensation, lens choice, and your own position relative to glare and background clutter. The best images in this genre rarely come from luck. They come from preparation, pattern recognition, and the ability to simplify camera operation under pressure.
It also includes a strong ethical component. Advanced fly fishing photography is not just about dramatic pictures; it is about creating those pictures while protecting the resource. That means minimizing air exposure, avoiding prolonged fish handling, preparing framing before the fish is lifted, and recognizing when the shot is not worth the stress it places on the fish. In that sense, a truly advanced photographer is part naturalist, part technician, and part field strategist.
How do I reliably photograph fast action like strikes, hook sets, casts, and jumps without ending up with missed focus or motion blur?
The key is to stop reacting late and start building a system that anticipates the moment. If you wait until you see the take to raise the camera, compose, focus, and fire, you will almost always be behind. Advanced action photography in fly fishing begins with prediction. Observe the water, identify the lane the fish are using, note where the fly is likely to drift, and pre-compose around the zone where action is most likely to happen. This allows you to lock in exposure and position before the event unfolds.
From a settings standpoint, use a shutter speed fast enough to freeze both angler and water movement. For most hook sets, line motion, and fish splashes, that usually means starting around 1/1600 second and increasing when light allows. Continuous autofocus is usually the best choice for moving subjects, especially when you are tracking an angler during the cast or fight. Pair that with burst shooting, but do not rely on indiscriminate spray-and-pray shooting. Short, controlled bursts timed to the expected moment are more efficient and often produce better frame selection later.
Depth of field matters more than many photographers expect. If you shoot very wide open, a cast can look dramatic, but the margin for focus error shrinks dramatically, especially with moving hands, rod tips, and changing body angles. In many fishing situations, stopping down slightly gives you a more forgiving file while still preserving subject separation. It is also wise to pre-test how your camera handles reflective water, because autofocus can sometimes jump to glare or surface texture rather than the angler or fish.
Your physical position also affects success. If you stand where the background is clean and the action crosses your frame rather than moving directly toward you, focus tracking becomes easier and the image often feels more dynamic. For jumps or boatside thrashing, keep both eyes open and leave a little extra room in the frame. Fish movement is erratic, and a slightly wider composition is far better than clipping the one explosive moment you were trying to capture. In short, reliability comes from pre-visualization, conservative technical choices, and repeated practice in reading the sequence before it happens.
How should I handle exposure, glare, and reflections when photographing anglers and fish around bright water?
Water is one of the most deceptive surfaces a camera meter encounters. It can appear dark and rich from one angle, then suddenly turn into a mirror of bright sky from another. That means automatic exposure can be fooled easily, especially in scenes with white foam, sunlit riffles, or backlit reflections. The most dependable approach is to treat the exposure decision as intentional rather than fully automatic. Watch your histogram, pay attention to highlight retention, and be prepared to adjust exposure compensation frequently as your angle changes.
In many river scenes, preserving highlights is the priority because blown reflections and bright patches on water are difficult or impossible to recover cleanly. If the angler’s face or clothing falls a little dark, that is often easier to correct later than clipped surface glare. Backlit scenes can be especially beautiful in fly fishing photography because they illuminate spray, line, and texture, but they demand discipline. Expose for the important highlights, then let shadow detail be a secondary consideration if necessary.
A polarizing filter can be useful, but it should be used deliberately rather than automatically. A polarizer can reduce surface glare and reveal fish, rocks, and subsurface color, but it also cuts light and changes the mood of the water. Sometimes glare is actually part of the atmosphere and drama of the image. The advanced decision is knowing when to tame reflections and when to keep them. Rotating the filter while watching the scene carefully helps you find the balance you want, rather than flattening every water surface by default.
Your shooting angle is often more important than any accessory. Small changes in position can dramatically alter how much glare reaches the lens and how reflective the water appears. Moving a step higher, lower, or more to the side can turn a chaotic reflective patch into a clean, readable frame. It also helps to separate the subject from bright hotspots behind them. In reflective environments, technical control comes from a combination of exposure awareness, angle management, and an understanding that water never looks the same for long.
What are the best practices for photographing fish responsibly while still getting strong, publishable images?
The best fish photos are made with the fish’s welfare dictating the pace of the session. That means the image should be planned before the fish is ever lifted for a photograph. Compose the frame, choose your angle, confirm your exposure, and communicate clearly with the angler while the fish remains in the water. When everyone knows exactly where to hold, where to look, and how long the fish will be out, the actual capture of the image becomes quick and controlled rather than chaotic and prolonged.
Whenever possible, photograph the fish partially submerged or just at the waterline. These images often look more natural, show context, and reduce handling stress. If a brief lift is appropriate, keep it genuinely brief and return the fish immediately. Wet hands, gentle support, and avoiding contact with dry surfaces are basic standards. Advanced photographers also pay attention to the environment itself. Warm water, exhausted fish, strong current, and species-specific sensitivity should influence whether a hero shot is appropriate at all.
Strong fish images do not require exaggerated posing. In fact, many of the most compelling photographs show restraint: the fish resting in current, the angler crouched low, the net still in the water, the release underway, or a close detail of fins, spots, and droplets rather than a full extension toward the lens. These approaches often produce more authentic and more editorially useful results than the classic outstretched grip-and-grin. They also reduce distortion that makes fish look unnaturally oversized and can make the composition feel less honest.
Finally, responsible workflow matters. Keep your camera accessible so you are not searching through a pack while the fish waits. Preselect likely focal lengths and settings during the fight if you can do so safely. Use simple verbal cues with the angler: “turn slightly,” “hold lower,” “eyes here,” “ready,” and “back in.” The less confusion there is, the faster the process goes. A publishable image and ethical fish handling are not competing goals; in advanced fly fishing photography, they should be inseparable.
What kind of field workflow helps produce consistently sharp, usable images during a full day on the water?
Consistency comes from reducing decision fatigue before the action begins. A strong field workflow starts with a camera setup that matches the type of fishing and storytelling you expect that day. That includes assigning autofocus behavior, burst mode, ISO strategy, and exposure controls in a way that you can operate by feel. If you have to dig through menus every time the light changes or a fish rises, you will miss moments. Advanced photographers create a repeatable baseline setup, then make only small adjustments as conditions evolve.
Accessibility is equally important. Your camera should be protected from water but available quickly enough that using it feels natural. If retrieving the camera is cumbersome, you will hesitate, and hesitation kills timing. Lens choice should also be simplified. Rather than carrying every possible option, think in terms of likely visual problems to solve: environmental storytelling, action compression, fish handling, and detail shots. Choosing one or two versatile tools and learning exactly how they behave is often more productive than constant switching.
Throughout the day, work in sequences rather than isolated single images. Capture the approach, the cast, the drift, the take, the fight, the landing, the fish portrait, and the release. This mindset produces a more complete visual story and improves your odds of coming home with a usable set