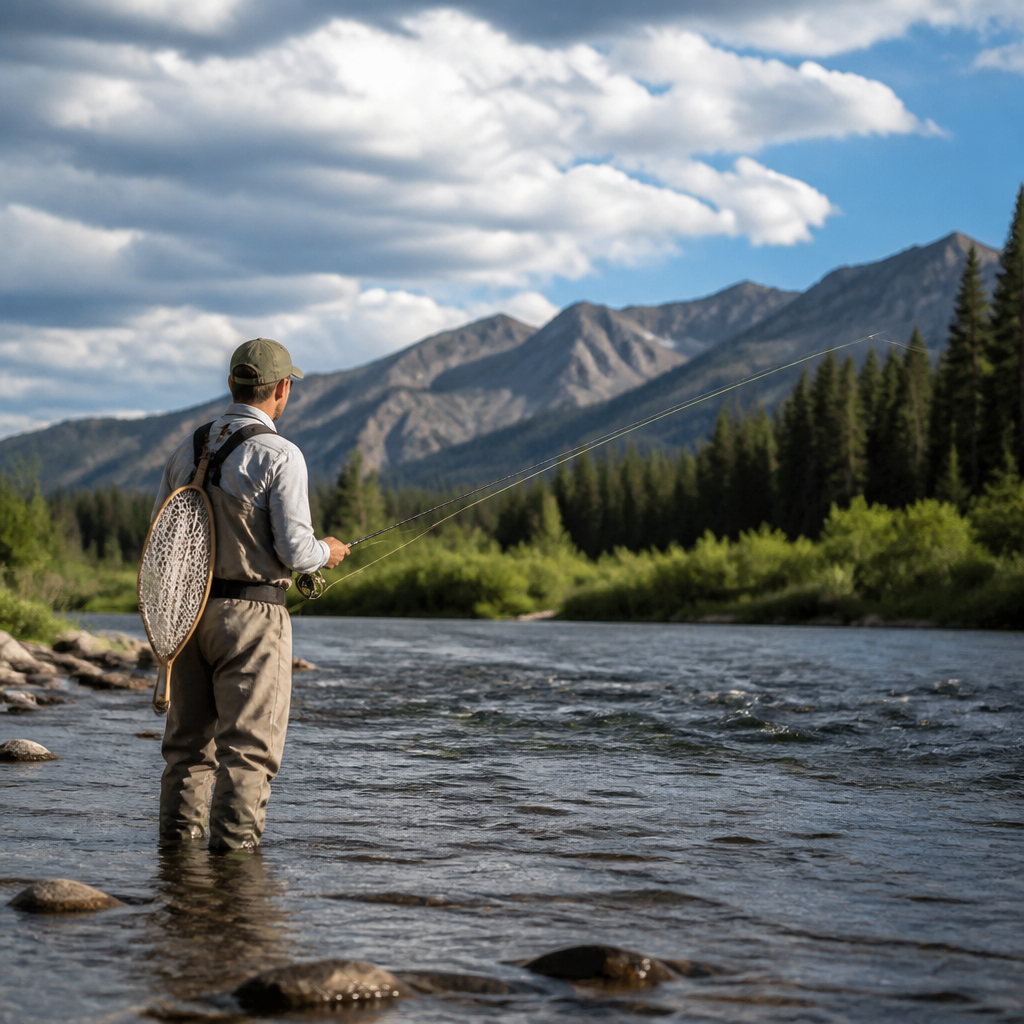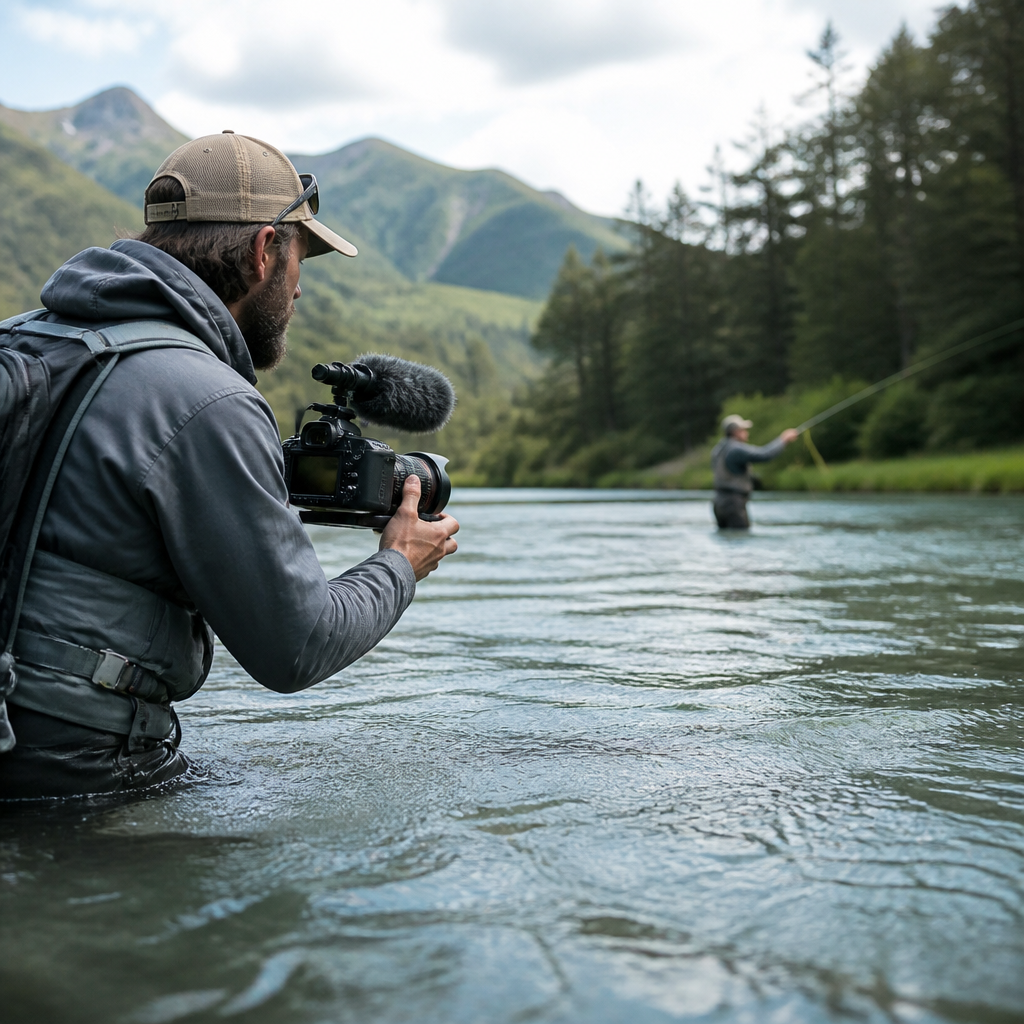
Fly fishing videography sits at the intersection of angling skill, outdoor storytelling, and field production discipline. It is the practice of capturing compelling video while actively fishing rivers, lakes, flats, or backcountry streams, often under changing light, wet conditions, and constant movement. For anglers building a media brand, guides marketing trips, or filmmakers documenting technical water, fly fishing videography is no longer a niche hobby. It is a core skill that helps teach advanced techniques, preserve memorable moments, and create trustworthy content that other anglers can learn from before they ever step into current.
In my own work filming anglers from drift boats, gravel bars, and chest-deep runs, the biggest lesson has been simple: good fly fishing footage is rarely about owning the most expensive camera. It comes from preparation, fish handling awareness, stable movement, clean audio, and understanding how fishing decisions translate on screen. A viewer needs to see line control, rod angle, mend timing, current seams, and fish behavior. If the video fails to show those details clearly, it may look attractive but it will not teach advanced techniques effectively.
This makes fly fishing videography especially important within the broader Techniques and Strategies category. Advanced techniques such as reach mends, tuck casts, streamer swing control, strike detection, double hauling, Euro nymph contact management, and boat positioning are difficult to explain with text alone. Video can reveal exactly when the angler sets, how the rod tracks, where the fly lands, and why the fish eats. That level of clarity improves instruction, supports gear reviews, and gives this hub page a central role for related articles on casting mechanics, fish-fighting angles, reading water, and filming in difficult environments.
To do that job well, this guide covers the essential gear, camera settings, shot planning, fish-first production habits, and advanced filming methods that separate usable teaching footage from random clips. It also addresses practical decisions every angler-filmmaker faces: whether to use an action camera or mirrorless body, how to stabilize shots on moving water, which microphones survive spray and wind, and how to film technical sequences without interfering with the fishing itself. If you want fly fishing videography tips and gear that support serious instruction, not just highlight reels, this is the foundation.
Choose Gear That Matches Water, Weather, and Teaching Goals
The best fly fishing videography gear is the gear you can deploy quickly, trust around water, and operate with cold hands. For most advanced-technique coverage, I recommend a three-part system: a primary mirrorless camera, a waterproof action camera, and a phone as an emergency or behind-the-scenes body. Mirrorless cameras such as the Sony A7 IV, Canon R6 Mark II, and Fujifilm X-S20 deliver strong autofocus, high-quality 4K, useful slow motion, and better dynamic range than action cameras. They excel when you need clear demonstrations of fly placement, rod movement, and fish behavior in mixed light.
Action cameras still matter because they solve problems larger cameras create. A GoPro HERO12 Black or DJI Osmo Action can mount on a chest harness, net handle, boat frame, or cap brim and keep rolling through spray, rain, and accidental dunks. They are ideal for hook-set perspective, landing sequences, release shots, and tight boat spaces. Their weaknesses are also predictable: harsh wide-angle distortion, lower low-light performance, and reduced control over depth of field. Use them where resilience matters more than cinematic separation.
Lenses matter as much as camera bodies. A 16-35mm equivalent is the workhorse range for boat interiors, walk-and-talks, and hero landscape shots. A 24-70mm equivalent covers most instructional sequences because it can frame the caster, the drift lane, and medium fish detail without constant lens swaps. A 70-200mm equivalent becomes valuable when you must stay back and avoid spooking fish while still capturing line mends, streamer strips, or a guide positioning a client across multiple seams. Polarized filters can help control glare, but they should be tested carefully; at some angles they produce uneven skies on very wide lenses and can reduce light too much near dusk.
Support gear is where many anglers underspend. A compact carbon tripod with a fluid head is essential for teaching segments, B-roll of water movement, and locked-off hook-up zones. A monopod works well in boats when a tripod is unstable. For motion, a small gimbal can produce smooth bankside tracking shots, but I only carry one when the filming plan justifies the extra weight. In real fishing conditions, a simple top handle, neck strap, and disciplined body movement often outperform a gimbal that takes too long to rebalance after each lens change.
Audio is frequently the difference between professional instruction and wasted effort. Built-in camera microphones fail in wind and moving water. A wireless system such as the DJI Mic 2 or Rode Wireless PRO paired with lavaliers under rain jackets gives far clearer instruction on current reading, fly choice, and line management. A small shotgun microphone with a deadcat windscreen helps for ambient river sound and backup dialogue. Record dual sources whenever possible because splashes, boats, and clothing rustle can destroy a one-mic setup.
| Gear Type | Best Use in Fly Fishing Videography | Main Advantage | Main Limitation |
|---|---|---|---|
| Mirrorless camera | Instruction, interviews, cinematic B-roll | Image quality and autofocus | Less water resistant, heavier |
| Action camera | POV, release shots, boat angles | Durability and easy mounting | Wide distortion, weaker low light |
| Tripod with fluid head | Teaching segments, stable bankside shots | Smooth locked framing | Bulky in rough access areas |
| Wireless lav mic | Instruction on the water | Clear voice capture | Needs wind protection and monitoring |
Use Camera Settings That Make Technical Skills Visible
Advanced techniques are lost when settings are chosen for convenience instead of clarity. Start with resolution and frame rate based on what must be analyzed. For general fishing sequences, 4K at 24 or 30 frames per second is efficient and detailed. For hook sets, aerial mends, line speed, or jump sequences, 60 or 120 frames per second provides useful slow motion. Slow motion is not just stylistic; it reveals mechanics that happen too fast for most viewers to study in real time.
Shutter speed should usually follow the standard motion rule, but fly fishing often benefits from slightly faster settings. At 24 fps, 1/50 is normal, yet I often shoot active casting sequences at 1/100 or 1/125 to sharpen line loops and rod tip recovery. At 60 fps, 1/125 or 1/250 works well for net shots and fish movement. The tradeoff is a less cinematic blur pattern, but educational footage gains more from legibility than from motion softness. If you are demonstrating double hauls or streamer strips, viewers need crisp visual information.
Autofocus settings deserve deliberate setup. Continuous autofocus with subject tracking works well when an angler moves toward the camera during a walk-and-cast sequence. For static instruction, a smaller focus zone on the face or chest prevents the system from jumping to a rod tip or bright water behind the subject. Exposure is equally critical because reflective water can fool metering systems. I typically protect highlights and expose skin carefully, knowing modern log or flat profiles retain shadow detail better than blown water reflections recover. Zebras at around 95 to 100 percent help monitor clipping.
White balance should be locked whenever possible. Auto white balance shifts between shaded banks, open sky, and reflected green water create inconsistent footage that is difficult to edit. Set Kelvin manually and adjust when conditions truly change. For color profiles, use a standard profile if you need fast turnaround or have limited grading experience. Use log only when the camera records strong bit depth and you know how to color manage properly. Poorly graded log footage often looks worse than well-exposed standard footage.
Plan Shots Around Fishing Sequences, Not Random Moments
Strong fly fishing videography is built from sequences. Instead of filming a few disconnected casts and one fish grip-and-grin, document the full chain: approach, water assessment, fly selection, cast, drift or swing, take, fight, landing, release, and takeaway. That sequence gives context to advanced techniques and creates natural internal connections to related hub topics like reading water, presentation, and fish handling. It also mirrors how viewers search for answers. They do not simply want a fish jump clip; they want to know what happened before the eat.
Before stepping into the river, identify the teaching purpose for each beat. If the segment is about Euro nymphing contact, the camera must clearly show leader angle, sighter position, rod height, and current speed. If it is about streamer fishing from a drift boat, you need one angle on the cast and mend, another on retrieve cadence, and a third on the guide’s boat placement. That preplanning prevents the common mistake of collecting beautiful landscape footage while missing the actual technical information.
Shot lists save trips. I keep a compact list organized by essentials, instruction, action, and atmosphere. Essentials include establishing river shots, location details, gear prep, and weather. Instruction covers close-ups of knots, fly patterns, split shot spacing, line hand movement, and wading angles. Action includes takes, net jobs, releases, and misses, because missed fish often teach more than landed ones. Atmosphere means boots on cobble, reel close-ups, insects, current seams, and changing light, all of which help the edit breathe without losing educational focus.
When possible, film the explanation after the moment as well as before it. Anglers often describe a seam or feeding lane more clearly once the fish has confirmed the pattern. Those immediate post-catch breakdowns are excellent material for advanced-technique hub content because they connect theory to evidence. A guide pointing back to the exact bucket where the trout ate is more persuasive than a generic lesson delivered later at the truck.
Master Advanced Filming Techniques on Moving Water
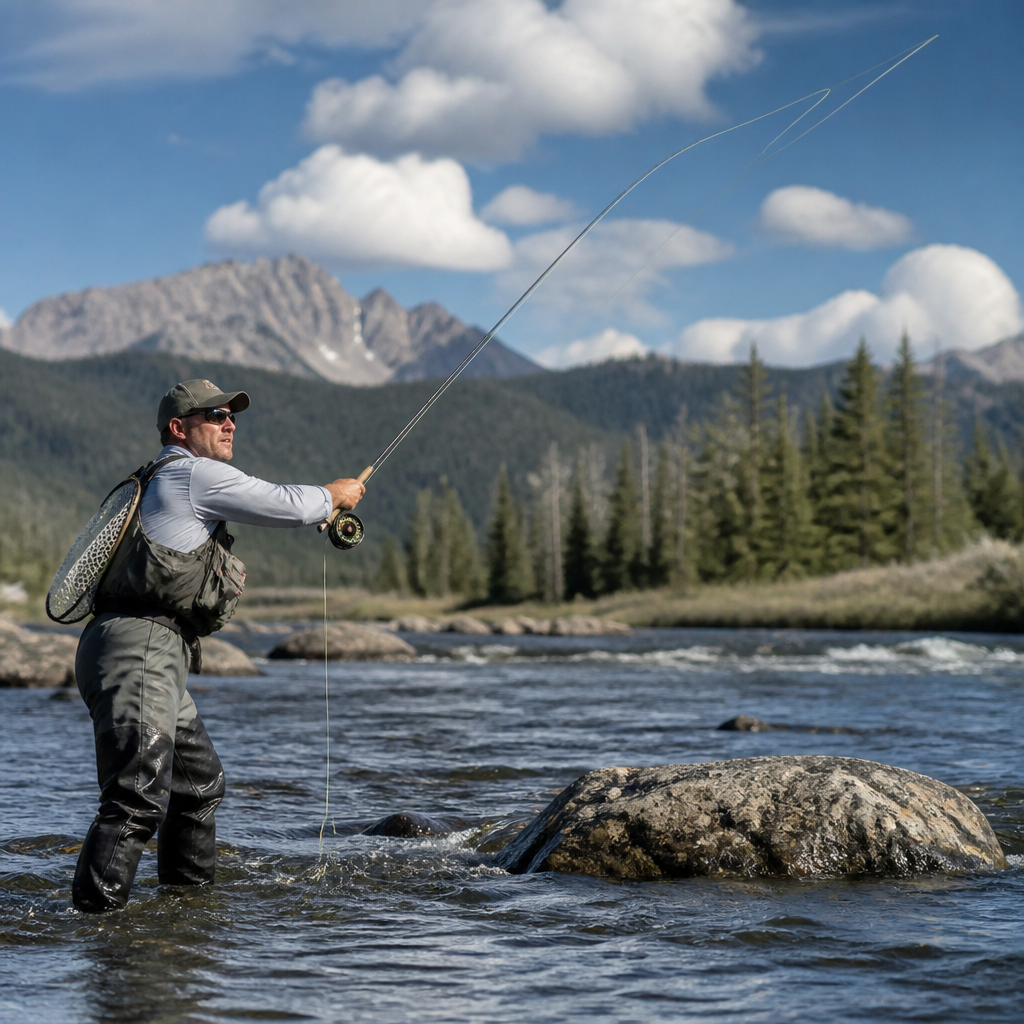
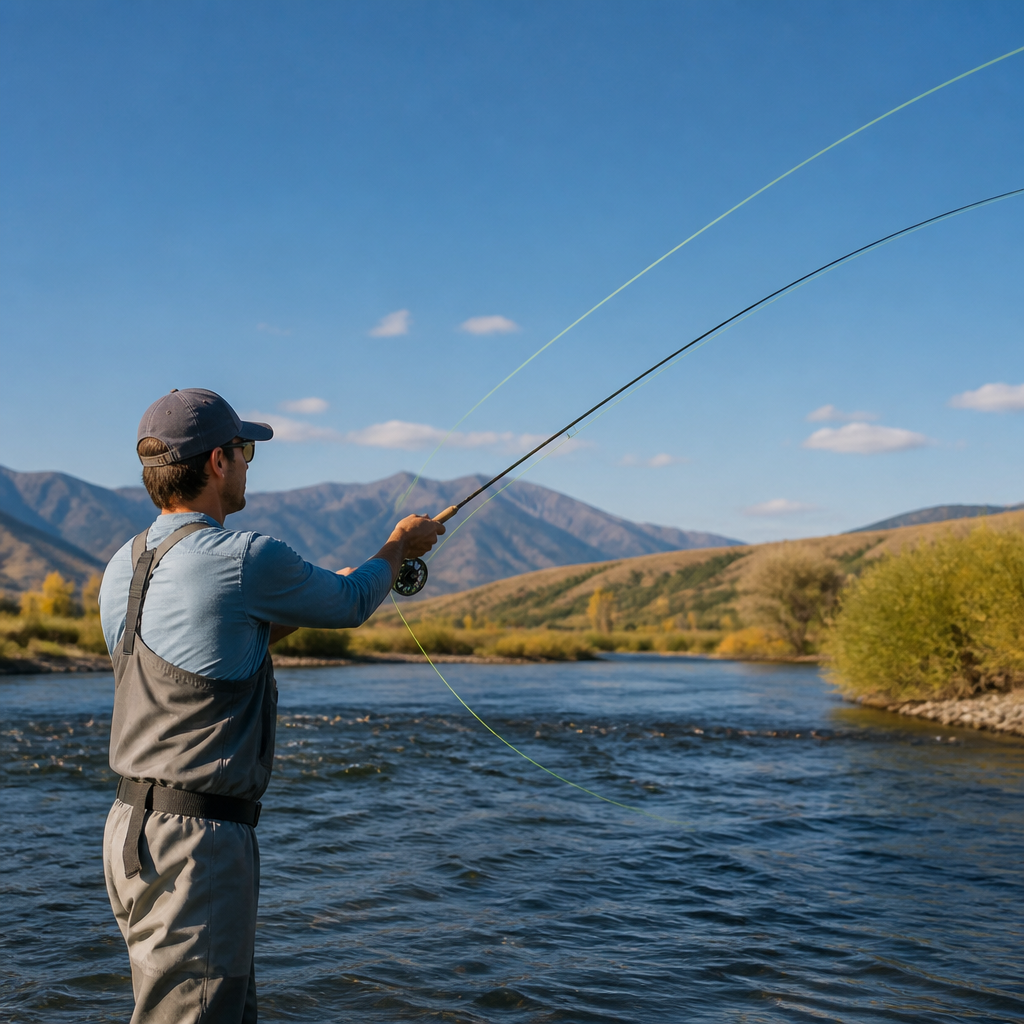
Advanced fly fishing videography requires movement control, anticipation, and respect for fish behavior. The first principle is to work diagonally rather than directly behind or in front of the caster whenever possible. A diagonal position lets the viewer see rod path, line loop shape, mend direction, and drift lane in one frame. Shooting from straight behind often flattens the image and hides line placement. Shooting from dead front can be dramatic, but it risks obscuring the actual fishing mechanics and can crowd the angler.
Parallax matters on rivers. If you move laterally a few feet while keeping the subject framed, seams, rocks, and current tongues separate visually, making water structure easier to understand. This is especially useful when filming advanced dry-dropper drifts or swung-fly presentations. A static wide shot may look scenic, but a controlled sidestep or slow pan can reveal why the angler cast upstream of the boulder and mended toward the softer inside lane.
POV footage has value, but only when used selectively. Head-mounted cameras can show strike timing and hand speed, yet they often create shaky, horizon-tilting clips that are tiring to watch. Chest mounts usually produce more stable footage and keep the viewer closer to the hands and reel. For release shots, a short floating grip or net-mounted angle works better than trying to handhold an action camera while protecting the fish. Practice these placements before the trip; improvising while a trout is in the mesh wastes time and increases stress on the fish.
Drone footage can add context on braided channels, flats, and large western rivers, but it should never become a gimmick. Use it to explain access, current structure, side channels, or boat positioning. Follow local regulations, maintain visual line of sight, and avoid buzzing anglers or wildlife. In many tight trout streams under canopy, a drone adds little. In open saltwater flats or broad tailwaters, it can explain movement patterns in ways no bankside angle can match.
Protect Fish, Respect Conditions, and Film Responsibly
No advanced technique is worth poor fish handling or unsafe filming decisions. If water temperatures are high, fish are stressed, or regulations restrict targeting, put the camera away or change the plan. I have scrapped entire shoot days because the footage was not worth the biological cost. Responsible fly fishing videography means treating the fish and fishery as more important than the content. Viewers notice that standard, and it strengthens credibility far more than any dramatic landing shot.
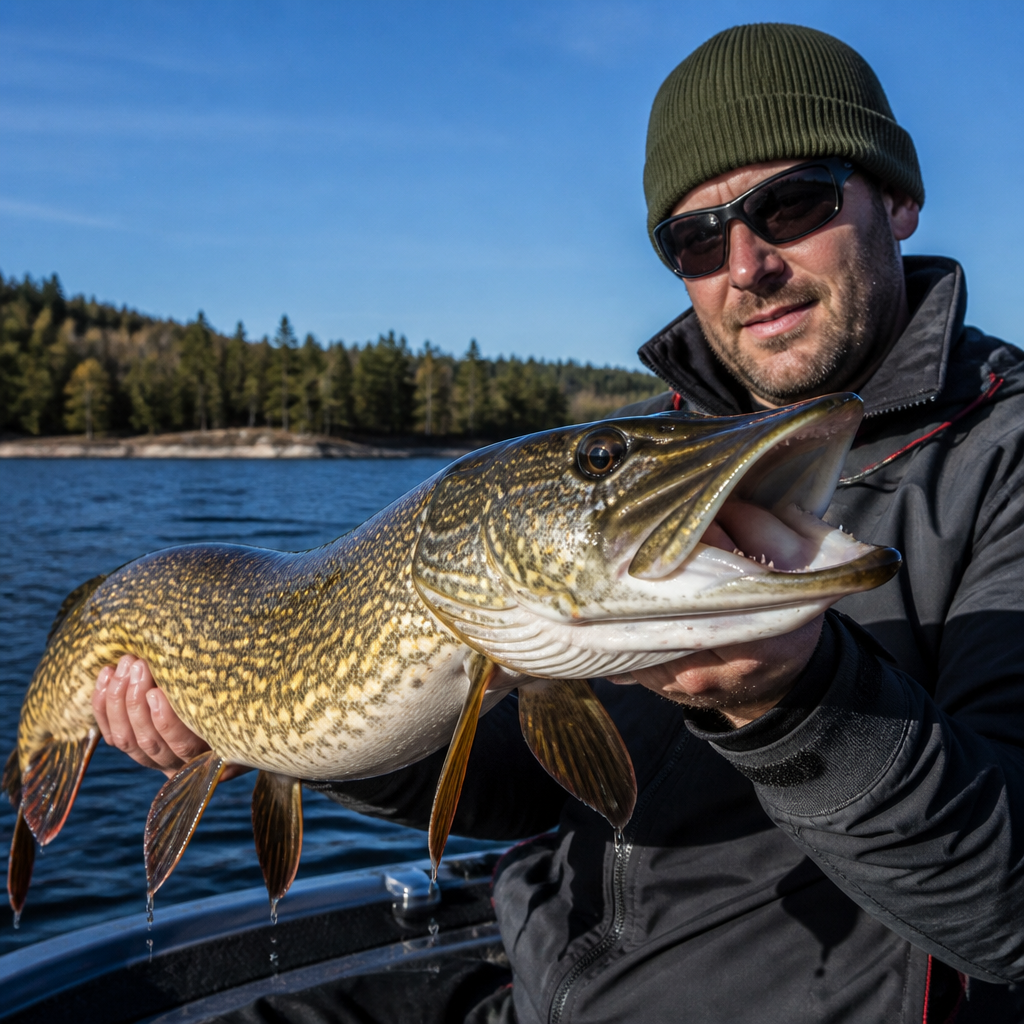
Keep release sequences fast. Pre-stage the camera, agree on roles, and know whether the shot is in the net, at the waterline, or omitted entirely. Wet hands, keep fish submerged as much as possible, and avoid repeated lifts for multiple takes. If you need a beauty shot, get one controlled frame and finish the release. For larger species such as steelhead or pike, additional planning is essential because handling mistakes escalate quickly and are obvious on camera.
Safety for the crew matters too. Waders, boots, and camera bags shift balance, especially on slick basalt, silted boat ramps, or fast side channels. Use waterproof packs with secure closures, tether expensive items in boats, and keep batteries warm in cold weather. Lithium batteries lose performance quickly in freezing conditions, and condensation after entering a heated vehicle can damage equipment if not managed carefully. Dry bags, silica packs, and microfiber towels are simple items that prevent expensive failures.
Edit for Instruction, Discovery, and Long-Term Hub Value
Editing determines whether fly fishing videography becomes a useful advanced-techniques resource or just a highlights montage. Build each piece around a single promise: what will the viewer learn? Open with the result, then show the conditions, the method, and the evidence. Tight pacing matters, but cutting too aggressively can remove the very clues anglers need, such as pause length in a cast or drift speed across seams. Leave enough real-time action for viewers to study cause and effect.
Use on-screen labels, maps, and simple graphics sparingly but purposefully. Label fly patterns, sink tips, tippet sizes, rod weights, and current lanes when they matter to the lesson. Chapters and descriptive subheadings improve navigation and help each section stand alone as a direct answer to a common question. This is especially important for a hub article supporting deeper pages on streamer fishing, nymphing systems, casting under wind, filming from boats, and post-production workflows.
Metadata and organization matter behind the scenes. Rename clips by date, river, angler, and sequence type. Sync audio immediately, back up cards in the field, and log the strongest technical explanations while the trip is fresh. In practice, the anglers who grow a durable video library are not the ones who shoot the most footage. They are the ones who can retrieve a clear example of a reach cast, downstream mend, or boat-side release months later without digging through unnamed files.
Fly fishing videography rewards anglers who think like teachers as much as filmmakers. The right gear supports the work, but clarity, preparation, and field discipline create the footage people actually trust. If this Techniques and Strategies hub is your entry point into Advanced Techniques, use it as a framework: choose dependable equipment, set cameras for legibility, film complete sequences, protect fish, and edit around specific lessons. Then build outward into your linked topics one skill at a time. On your next trip, plan three teachable sequences instead of chasing random clips, and your footage will improve immediately.
Frequently Asked Questions
What gear do you need to start with fly fishing videography?
At a minimum, you need a camera that can produce clean video, a way to stabilize it, reliable audio capture, and a system for protecting everything from water, sand, and impact. Many anglers begin with an action camera because it is compact, waterproof, and easy to mount on a chest harness, hat, boat frame, or net handle. That said, if you want more cinematic image quality, better low-light performance, and stronger control over depth of field, a mirrorless camera is often the better primary tool. A practical setup for beginners might include one action camera for point-of-view footage, one mirrorless or compact camera for interview and scenic shots, a lightweight tripod, extra batteries, high-capacity memory cards, a waterproof dry bag, lens cloths, and a small shotgun or wireless microphone for clearer voice recording.
The most important point is to choose gear that matches the way you actually fish. If you hike into small mountain streams, weight and packability matter more than a large cinema rig. If you film from a drift boat or skiff, you may have more room for support gear, additional lenses, and backup bodies. Polarized sunglasses are great for fishing, but remember they can affect how LCD screens and water reflections appear while filming, so test your setup before a shoot. Also invest in power management early. Cold mornings, long float days, and constant recording drain batteries quickly. Carry more batteries than you think you need, store them in a dry, warm place, and create a habit of rotating cards and batteries throughout the day. Good fly fishing videography is rarely about owning the most expensive equipment. It is about building a dependable field kit that survives harsh conditions and lets you keep filming when the fishing and light are both at their best.
How do you capture stable, professional-looking video while actively fishing?
Stability in fly fishing videography comes from a combination of technique, support tools, and planning for movement before it happens. Because you are often casting, wading, stripping line, rowing, or changing position on uneven ground, handheld footage can become chaotic very quickly. The easiest improvement is to stop trying to record everything in real time while moving. Instead, shoot in short, intentional clips. Plant your feet, brace your elbows, and capture a few seconds of a clean cast, a hook set, line lifting from the water, or a fish release. A lightweight tripod or monopod can dramatically improve scenic shots, talking segments, and close-up gear footage. In boats, small clamps or secure mounts can help create more controlled angles without forcing you to constantly hold the camera.
Action cameras can also make stability easier, especially when mounted to the chest, head, shoulder, or boat. Many now include in-camera stabilization, which helps smooth motion, but stabilization works best when the camera is mounted securely and framed thoughtfully. Avoid constant panning and rapid head turns if you are using a head mount, since that tends to create distracting footage. If you are filming yourself, think in sequences rather than isolated moments. Capture a wide shot of the run, a medium shot of your cast, a close-up of the reel turning, then a detail shot of the fly or water current. Editing becomes much stronger when you have multiple stable angles that tell the story of the same event. Professional-looking fly fishing video is not just about eliminating shake. It is about making each shot feel deliberate, readable, and connected to the rhythm of the water and the action.
What camera settings work best for changing light and reflective water conditions?
Fly fishing environments are difficult because they combine bright highlights, dark shadows, moving water, and rapidly changing weather. If you leave everything in full auto, your footage may shift exposure and color in distracting ways as clouds pass or the camera reframes. A better approach is to learn a few core settings and apply them consistently. Start with frame rate and shutter speed. If you are shooting standard footage at 24 or 30 frames per second, use a shutter speed roughly double that frame rate for natural motion blur. If you plan to capture splashy hook sets, fish jumps, or casting sequences in slow motion, switch to 60 or 120 frames per second when light allows. Keep ISO as low as practical to reduce noise, and use aperture creatively if you have a lens-based camera. Wider apertures can isolate your subject, while narrower apertures help keep both angler and environment sharp.
Reflective water is often the biggest challenge. A circular polarizing filter can help reduce glare and improve visibility beneath the surface, but it also cuts light, so you need to balance it against your exposure needs. In very bright conditions, neutral density filters are useful because they help maintain proper shutter speed without overexposing the image. White balance is another setting worth controlling manually when possible. Auto white balance can drift between cool and warm tones as the scene changes, which makes editing harder. Setting a consistent white balance based on daylight or cloud conditions produces more cohesive footage. Finally, expose carefully for highlights. It is usually easier to recover some shadow detail in post-production than to fix blown-out reflections on water or washed-out skies. The goal is not technical perfection in every frame. It is to create footage that is consistent, flexible in editing, and visually true to what the day on the water actually felt like.
How do you record good audio when wind, water, and distance make everything harder?
Audio is one of the biggest differences between amateur and professional outdoor video, and it is often overlooked in fly fishing content. Viewers may tolerate imperfect visuals for a moment, but they quickly disengage if dialogue is muffled, distorted, or buried under wind noise. If you speak to camera, use an external microphone whenever possible. A wireless lavalier system is excellent for host-driven storytelling because it keeps your voice clear even if the camera is several feet away. If you are filming a guide, client, or fishing partner, a dual-transmitter wireless setup can be especially helpful. For run-and-gun scenes where a lav mic is not practical, a compact shotgun microphone mounted on the camera can improve sound substantially over built-in mics, though it still needs wind protection.
Wind management is essential. Use proper windshields, not just foam covers, especially on rivers, lakes, and open flats where gusts can ruin a perfect take. Also think beyond spoken words. Natural sound is a huge part of outdoor storytelling. Record the reel drag, the splash of a release, boots crunching gravel, current against the bank, or line shooting through the guides. These ambient sounds add realism and energy during editing. If the environment is loud, get closer for key moments or record separate audio when the action pauses. It is also smart to monitor audio levels when possible and to do short test recordings before committing to an important sequence. Great fly fishing videography does not simply show the river. It lets people hear the place, the pace, and the emotion of what is happening there.
What are the best storytelling tips for making fly fishing videos more engaging?
The most engaging fly fishing videos do more than document catches. They create a narrative that gives the audience a reason to care from the first shot to the last. Start by identifying the story before you begin filming. Maybe it is a challenging hatch window, a technical spring creek lesson, a destination trip, a search for a certain species, or a guide helping a client land a first fish on the fly. Once you know the story, film with structure in mind: introduction, setup, challenge, adjustment, payoff, and resolution. That means capturing not just hero shots and fish grips, but all the connective tissue around them. Film the early rigging, the weather shift, the fly change, the missed eat, the discussion about current seams, and the final release. These moments build tension and context, which make the successful catch feel earned rather than random.
It also helps to vary your shot selection and pace. Wide shots establish the landscape and scale of the water. Medium shots show body movement and technique. Tight detail shots bring intimacy to flies, hands, reels, fish markings, and insects. Include pieces to camera or voiceover that explain what is happening and why it matters. If the video is educational, be specific about tactics, presentation, or reading water. If it is more cinematic, lean into mood, natural sound, and visual progression. Most importantly, be selective. Not every cast, drift, or fish needs to stay in the final cut. Strong editing respects the viewer’s time and preserves only the moments that move the story forward. In fly fishing videography, the best videos feel like a day on the water with purpose. They teach, entertain, and immerse the audience all at once.