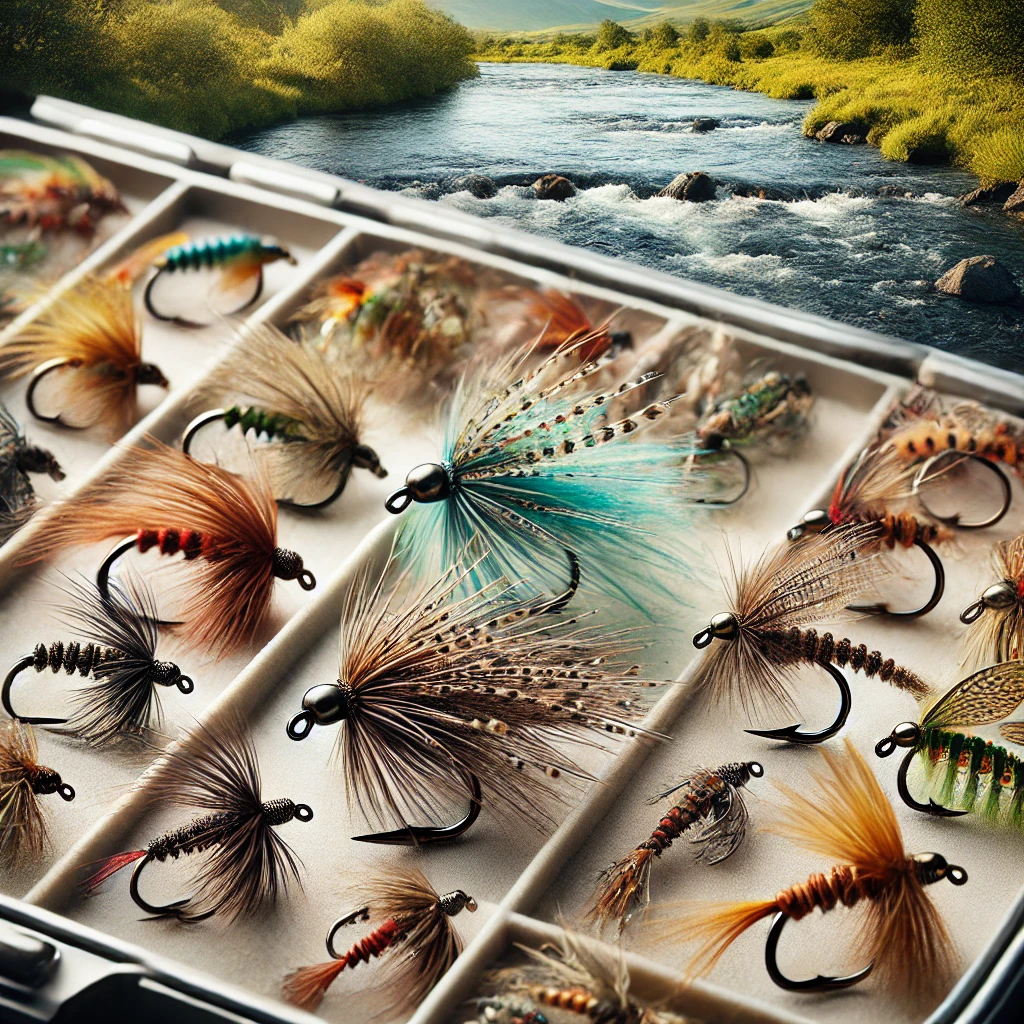
Fly fishing is not just a hobby; for many, it is a lifelong passion. Central to this passion is the art of creating fly patterns. The journey of tying your own flies is incredibly rewarding but also requires a dedication to detail and technique. This comprehensive guide delves into the world of fly patterns and tying techniques, ensuring that both novice and experienced fly tiers can create realistic, effective flies.
Introduction
The allure of fly fishing lies in its blend of science, artistry, and skill. At the heart of this intricate sport is the fly – a meticulously crafted imitation of natural prey. Understanding how to create realistic fly patterns can make a world of difference in your fishing success. But where do you start? This guide will walk you through the principles of fly tying, the best materials to use, and detailed instructions on crafting some of the most effective fly patterns.
Before diving into techniques and patterns, it’s important to grasp the basics: what fly tying entails and why it’s so crucial. Fly tying is the process of creating an artificial fly using various materials such as feathers, thread, and beads. These components are intricately tied onto a hook to mimic the appearance and behavior of insects, baitfish, or other aquatic life that fish are naturally inclined to eat.
The skill of fly tying requires patience, practice, and a keen eye for detail. With modern advancements in materials and tools, creating realistic flies has never been more accessible. However, the most important element remains the knowledge and technique of the fly tier. Through this guide, you’ll gain the confidence and expertise needed to craft flies that not only look lifelike but also perform exceptionally well in the water.
The Basics of Fly Tying
At its core, fly tying is the art of assembling various materials to create a convincing imitation of an insect or other fish prey. The objective is to deceive the fish into thinking the fly is a natural meal. To achieve this, understanding the fundamentals is crucial.
Firstly, you’ll need a basic set of tools: a vise to hold the hook, scissors for cutting materials, bobbins to manage your thread, hackle pliers for managing feathers, and whip finishers to tie off your flies securely. Invest in high-quality tools; they will make the process more enjoyable and your flies more precise.
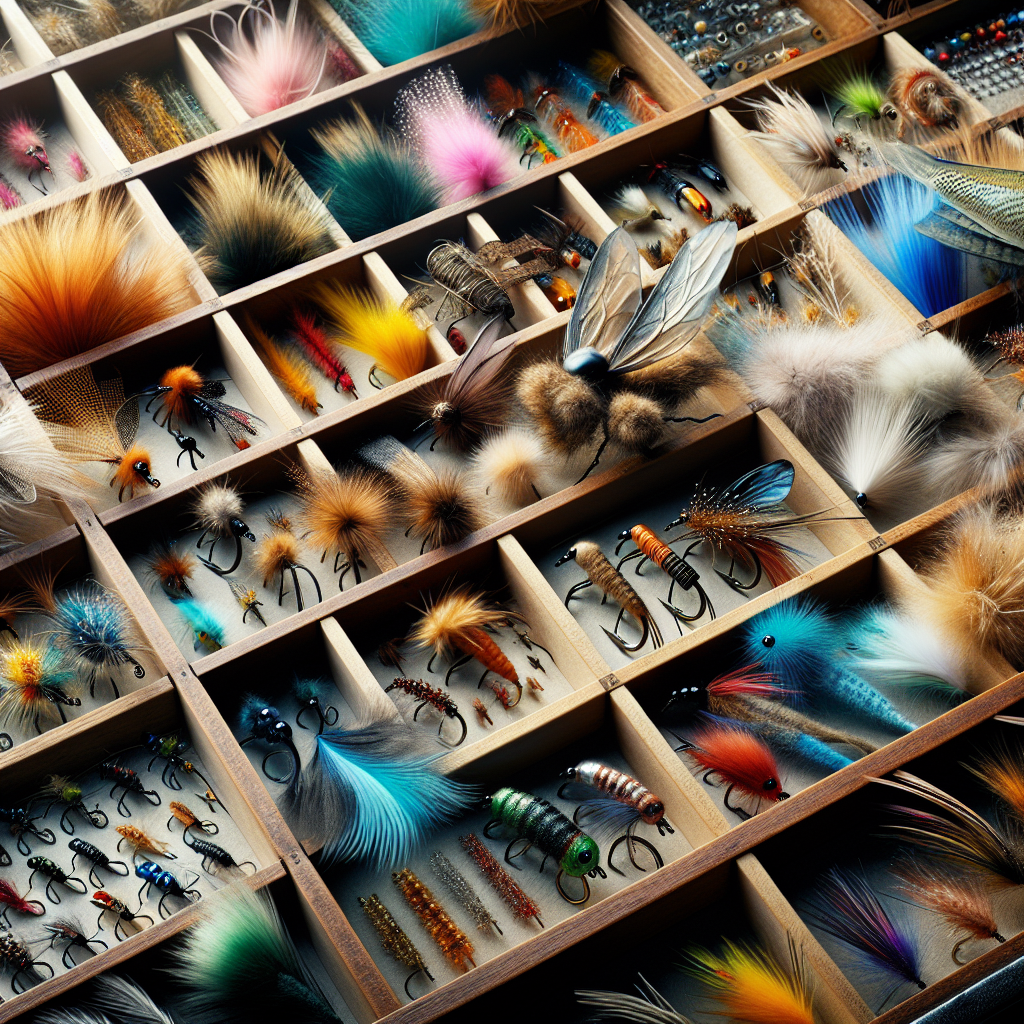
The next step is selecting the proper materials. The type of fly you’re tying will determine the materials needed. Common materials include feathers (hackle), fur, synthetic fibers, beads, and wire. Each material has a specific role, whether it’s to add realism, buoyancy, or simply to enhance the fly’s appearance.
Begin with simple patterns. The Woolly Bugger is an excellent starter fly due to its simplicity and effectiveness. It involves a marabou tail, a chenille body, and a hackle feather wound around the body. As you build confidence, gradually move onto more complex flies, experimenting with different materials and techniques.
Essential Fly Patterns for Beginners
Starting with fundamental patterns will provide a solid foundation for more intricate designs. Here are a few must-learn patterns for novice tiers:
1. Woolly Bugger
The Woolly Bugger is versatile and works in various fishing conditions. To tie it, you’ll need marabou for the tail, chenille for the body, and hackle for the ribbing.
2. Pheasant Tail Nymph
This is a classic nymph pattern that imitates many types of aquatic insects. Materials include pheasant tail fibers, copper wire, and peacock herl for the thorax.
3. Elk Hair Caddis
Perfect for dry fly fishing, this pattern uses elk hair for buoyancy and a hackle feather for added realism. It’s a go-to fly for many anglers.
Mastering these basic patterns will boost your confidence and provide a strong base to tackle more complex ties.

Advanced Techniques for Realism
As you progress, you’ll want to add more realistic elements to your flies. Advanced techniques involve intricate details that mimic natural movement and look of prey. Here’s how you can up your game:
1. Dubbing Techniques
Dubbing is the process of applying fine material to the thread, creating a fuzzy body on the fly. This technique adds texture and can imitate the segmented abdomen of insects. Experiment with different dubbing materials like rabbit fur, synthetic blends, or even custom mixes to achieve desired effects.
2. Parachute Hackles
Parachute flies have a hackle tied horizontally, making them sit on the water surface more naturally. This is achieved by tying the hackle around a post (often calf tail or synthetic fiber) at the top of the fly.
3. Bead Heads
Adding a bead head to nymphs and streamers not only provides weight but also imitates the flash of an insect’s head or a baitfish’s eye. Experiment with different bead sizes and colors to match your target prey.
These techniques require practice and patience, but they significantly enhance the life-like quality of your flies, making them more enticing to fish.
Material Selection Tips
Choosing the right materials is critical for realism and effectiveness of your flies. Here are some tips to guide you:
1. Natural vs. Synthetic
Natural materials like feathers and fur offer lifelike movement and texture, but synthetic materials provide durability and consistency. Depending on the fly, you might need to mix both.
2. Color Matching
Matching the hatch is important in fly fishing. Study the insects in your fishing area and match the color and size of your flies to them. Natural dyes in materials often match better with the prey species.
3. Quality
High-quality materials result in more durable and realistic flies. Avoid bargain products that might compromise the integrity of your tie.
Being meticulous in your material selection will pay off in the quality and performance of your flies.
Understanding Aquatic Entomology
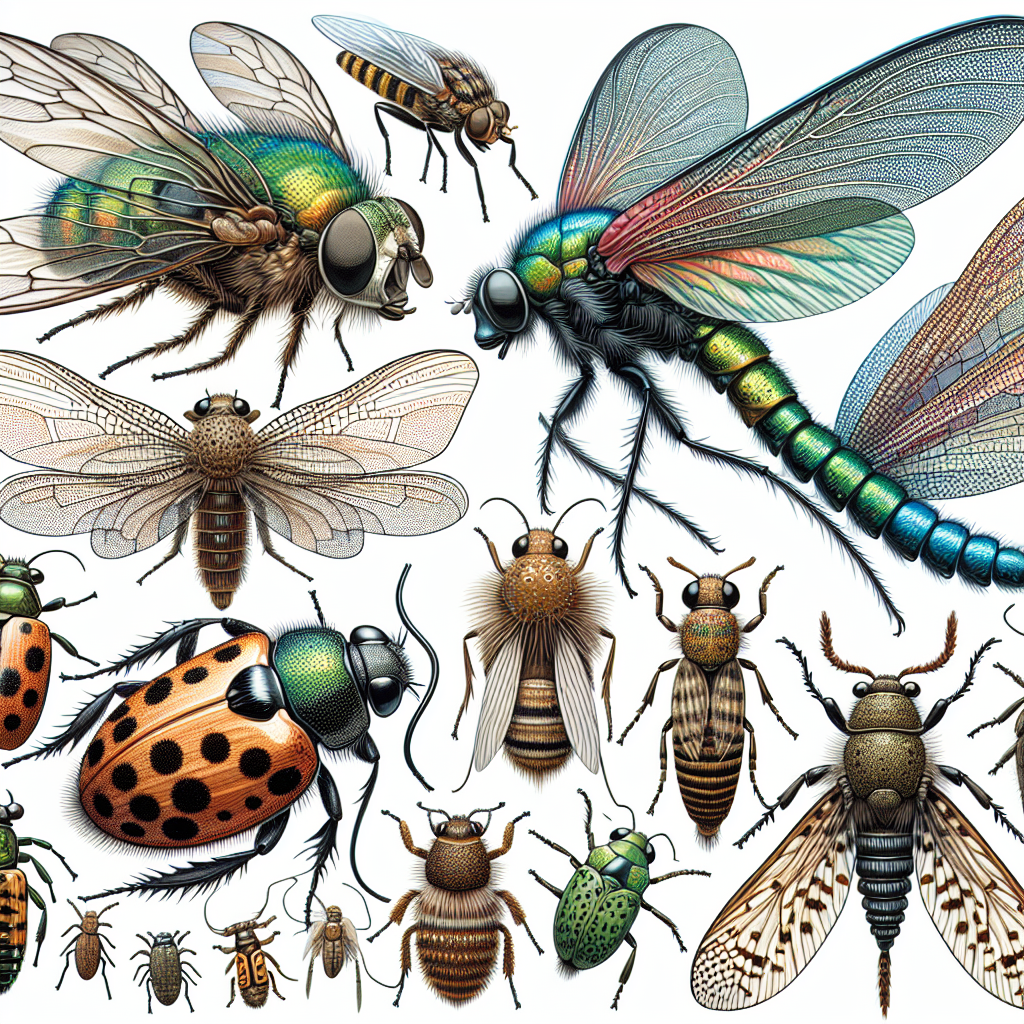
A comprehensive knowledge of aquatic entomology – the study of insects – is indispensable for creating realistic fly patterns. Knowing the life stages of insects, their appearance, and behavior can make your fly designs more effective.
1. Nymphs
Nymphs are the juvenile stage of insects such as mayflies, caddisflies, and stoneflies. These are highly nutritious for fish and are often found in the riverbed. Flies like the Pheasant Tail Nymph or the Hare’s Ear Nymph replicate these stages.
2. Emergers
Emergers are insects transitioning from nymphs to adult form. This stage is vulnerable, making it a prime target for fish. Patterns like the Parachute Emerger simulate this state effectively.
3. Adults
Adult insects are typically imitated by dry flies, which float on the water surface. Patterns such as the Elk Hair Caddis or Adams Dry Fly mimic adult mayflies or caddisflies.
Understanding how fish feed on different life stages of insects will help you choose or create the most effective fly patterns for specific conditions.
Conclusion
The journey of creating realistic fly patterns is both an art and a science. It requires a blend of knowledge about aquatic life, attention to detail, and a knack for crafting. By mastering fundamental fly tying techniques, practicing advanced methods, carefully selecting materials, and understanding entomology, you can elevate your fly tying skills.
Remember, every successful fly tier started as a beginner. Don’t be discouraged by initial challenges. Practice is key, and with each fly you tie, your skills will sharpen, and your creations will become more lifelike and effective.
So, set up your vise, gather your materials, and start tying. Whether you’re preparing for a fishing trip or simply enjoying the art of fly tying, the flies you create will carry a piece of your craftsmanship and passion, making every catch a testament to your skill and dedication.