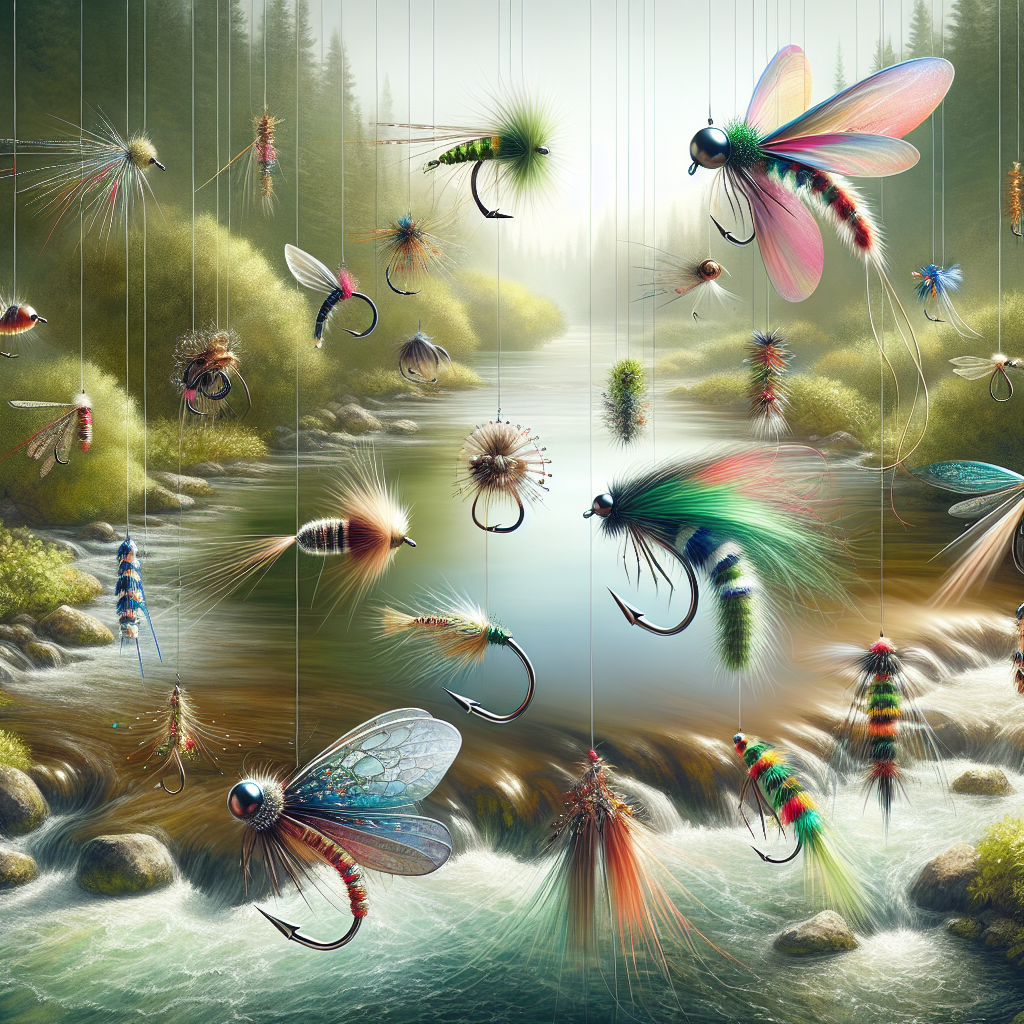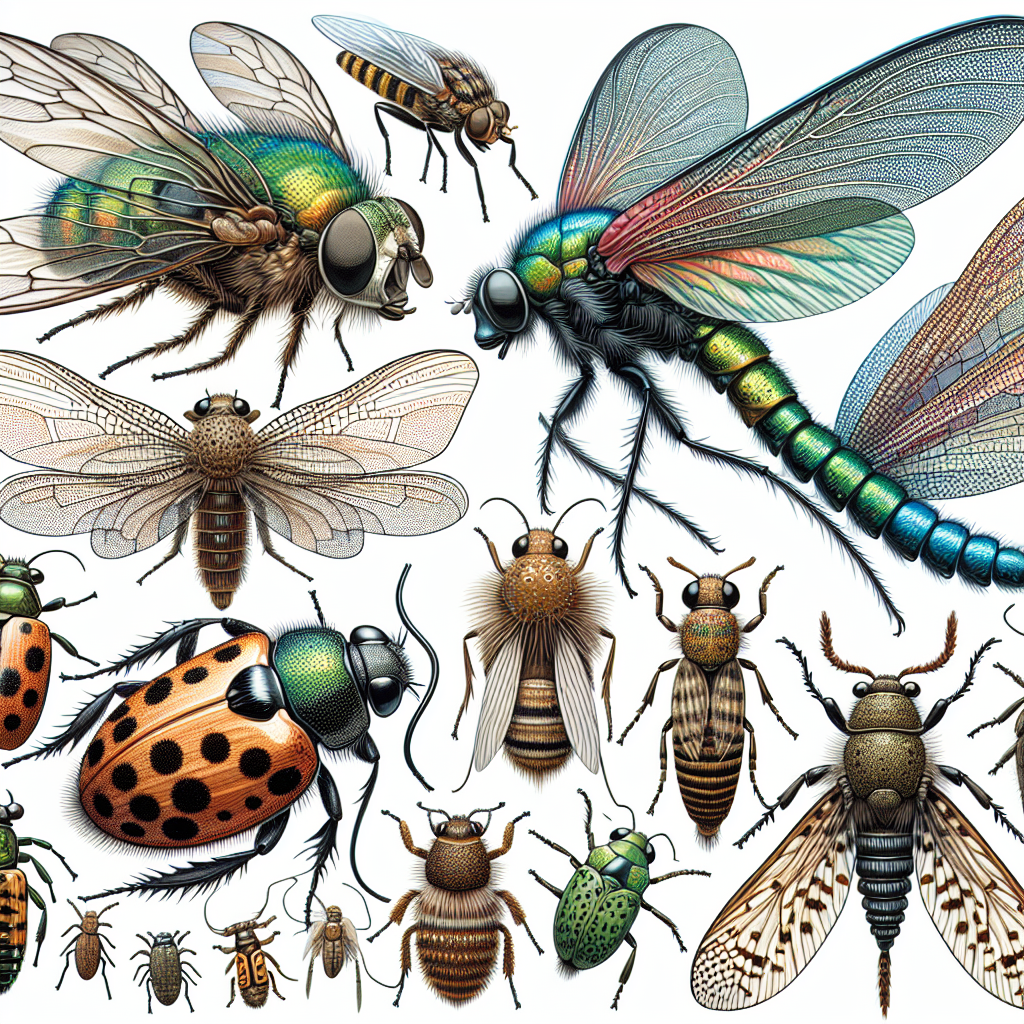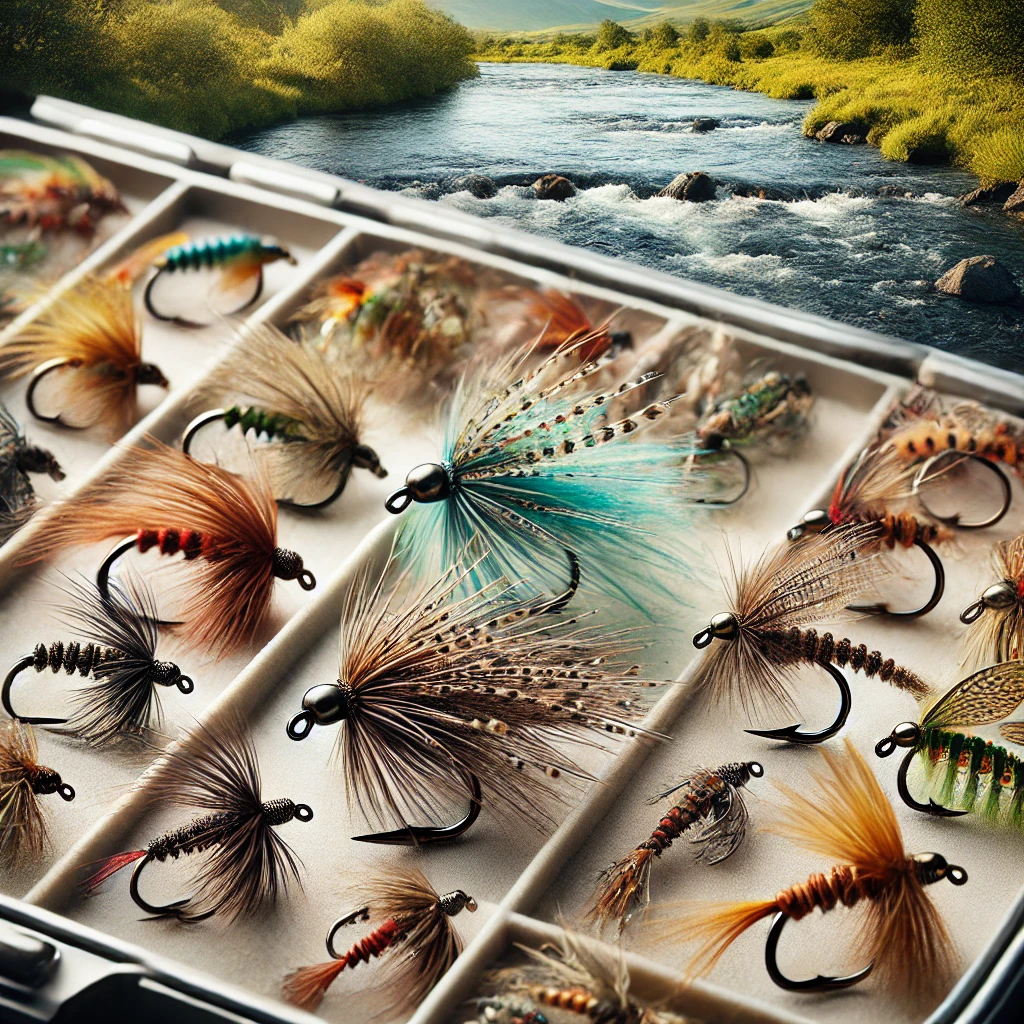
When it comes to fly fishing, understanding the different types of flies and mastering the art of fly tying can be the difference between a successful day on the water and a frustrating one. Among the various types of flies used by anglers, nymphs hold a special place due to their effectiveness in mimicking the immature stages of aquatic insects, which comprise a significant portion of a trout’s diet. This comprehensive guide aims to unravel the mysteries of nymph patterns and tying, offering insights into the types of nymphs, their significance, and tips for creating your own nymph flies.
Nymph flies are designed to imitate the larval or nymph stages of aquatic insects, which live underwater and are a crucial food source for fish. Since fish spend a majority of their time feeding underwater, understanding and utilizing nymph patterns can greatly increase your chances of catching fish. Fly anglers often debate the merits of dry flies versus nymphs, but many will agree that having a solid selection of nymphs is indispensable for any serious angler.
This guide will delve into the different types of nymphs, the materials and tools you need for tying them, popular nymph patterns to have in your collection, and step-by-step instructions on tying some of these essential flies. With this knowledge, you’ll be better prepared to hit the water with confidence and improve your fly fishing success.
Types of Nymphs
Nymphs come in a variety of shapes and sizes, each designed to replicate different species of aquatic insects. These variations often depend on the specific habitat and the type of fish you are targeting. Broadly, nymphs can be categorized into a few main types:
- Mayfly Nymphs: These are one of the most common and widely recognized categories of nymphs. Mayfly nymphs typically have elongated bodies with three tails and are often found in streams and rivers.
- Caddisfly Nymphs: Caddisfly larvae often create protective cases out of sand, small pebbles, or plant material. These nymphs are usually plump and resemble small worms or grubs.
- Stonefly Nymphs: Stonefly nymphs are larger and more robust, with two tails and prominent leg structures. They thrive in fast-moving, well-oxygenated waters.
- Midge Larvae: These tiny, slender nymphs are often overlooked but can be incredibly effective, particularly in still waters. Midge larvae come in various colors, including red and black.
Understanding the distinctions between these types of nymphs will help you select the right pattern for the prevailing conditions and the specific fish species you are targeting. Each type of nymph requires unique tying techniques and materials, which we will explore in the following sections.
Materials and Tools for Tying Nymphs
Fly tying is a craft that requires attention to detail and the right materials. Below are the essential tools and materials you will need for tying nymphs:
- Fly Tying Vise: This essential tool holds the hook firmly while you work on the fly.
- Bobbins: These tools hold spools of thread and provide tension control.
- Thread: Available in various colors and thicknesses, thread is used to secure materials to the hook.
- Hooks: Nymph hooks come in various sizes and shapes, each suited for different types of nymphs.
- Beads: Weighted beads help nymphs sink. They come in brass, tungsten, and other materials.
- Feathers and Fur: These natural materials provide movement and lifelike qualities. Common types include pheasant tail, hare’s ear, and peacock herl.
- Wire and Tinsel: These materials add flash and weight to the nymph.
- Dubbing: A fluffy, soft material used to create the body of the nymph. Dubbing can be synthetic or natural.
Having the right tools and materials is crucial for creating effective nymph patterns. High-quality tools will make the tying process smoother and more enjoyable, leading to better results and more durable flies.

Popular Nymph Patterns
Many nymph patterns have stood the test of time due to their effectiveness. Below are a few must-have nymph patterns for your fly box:
- Pheasant Tail Nymph: A versatile pattern that imitates a wide range of mayfly nymphs. It uses pheasant tail fibers and peacock herl.
- Hare’s Ear Nymph: Effective in various conditions, this nymph uses hare’s ear dubbing and gold ribbing to create a lifelike appearance.
- Prince Nymph: Known for its peacock herl body and biot tails, this pattern is a reliable attractor in fast-moving water.
- Zebra Midge: Simple yet effective, this tiny nymph uses fine wire and thread to imitate midge larvae.
- Caddis Pupa: This pattern imitates emerging caddisflies and is particularly effective during a caddis hatch.
Each of these nymph patterns has unique features that make them effective in specific situations. Having a variety of these patterns will ensure you are prepared for different fishing conditions and insect hatches.
Step-by-Step Nymph Tying Guide
While there are countless nymph patterns you can tie, let’s go through the step-by-step process of creating a Pheasant Tail Nymph, one of the most popular and effective patterns.
Materials:
- Size 14-16 nymph hook
- Thread: Olive or brown
- Pheasant tail fibers
- Peacock herl
- Gold or copper wire
- Bead head (optional)
Steps:
- Start by placing the hook in the fly tying vise and, if using a bead head, slide the bead onto the hook.
- Attach the thread near the hook eye and wrap it back to the bend of the hook.
- Take a few pheasant tail fibers and tie them in at the bend to create the tail. The tail should be about half the length of the hook shank.
- Tie in a piece of gold or copper wire at the same point.
- Move the thread back towards the hook eye, wrapping the pheasant tail fibers to form the body as you go.
- When you reach the hook eye, tie off the pheasant tail fibers and trim any excess.
- Wrap the wire forward in even, open turns to rib the body, and secure it at the hook eye.
- Tie in several strands of peacock herl and wrap them to form a thorax, then tie off and trim the excess herl.
- Create a small head with the thread and whip finish it to secure the fly. Optionally, add a drop of head cement for durability.
Congratulations! You have tied a Pheasant Tail Nymph. Practice makes perfect, so continue practicing to refine your technique and create more complex patterns.
Advanced Tying Techniques and Tips
Once you have mastered the basics of nymph tying, you can explore more advanced techniques to enhance your flies’ realism and effectiveness. Here are some tips to take your nymph tying to the next level:
- Use UV Resin: UV resin can add durability and a lifelike finish to your nymphs. Apply a small amount to the fly and cure it with a UV light.
- Experiment with Different Materials: Don’t be afraid to try new materials and combinations. Synthetic materials like rubber legs, foam, and flash can add extra movement and attraction.
- Adjust Weighting: Vary the weight of your nymphs to fish at different depths. Tungsten beads and lead-free wire are excellent for adding weight without bulk.
- Create Hot Spots: Adding a small, brightly colored section to your nymph can act as a trigger point for fish. Use contrasting thread or dubbing to create these hot spots.
- Match the Hatch: Pay attention to the specific insects present in your fishing area. Use natural colors and materials to mimic these insects closely.
By incorporating these advanced techniques into your tying repertoire, you can create highly effective nymphs that will attract and catch more fish. The key is to keep experimenting and refining your skills.
Conclusion
Nymph fishing is a rewarding and effective method that every angler should master. By understanding the different types of nymphs, utilizing the right tools and materials, and practicing your tying skills, you can create a diverse collection of nymph patterns to enhance your fly fishing experience. Whether you’re targeting trout in fast-moving streams or bass in still waters, having a selection of well-tied nymphs will increase your chances of success.
Remember that the best way to improve is through practice and experimentation. Spend time on the water observing insect activity and adjusting your nymph patterns accordingly. Keep a log of your successes and failures to refine your approach and develop a deeper understanding of the nuances of nymph fishing.
By following the guidelines and tips outlined in this comprehensive guide, you’ll be well on your way to becoming a proficient nymph fly tyer and a more successful angler. Happy tying and tight lines!