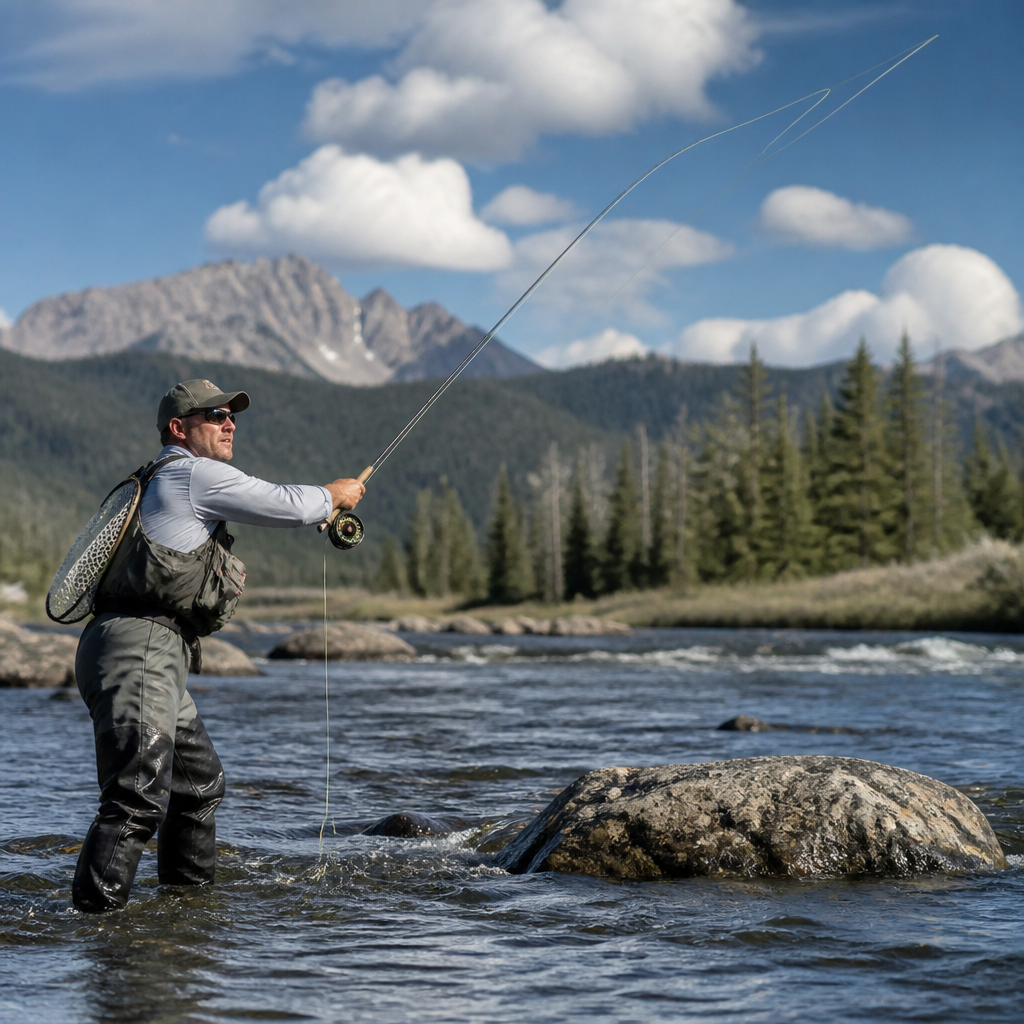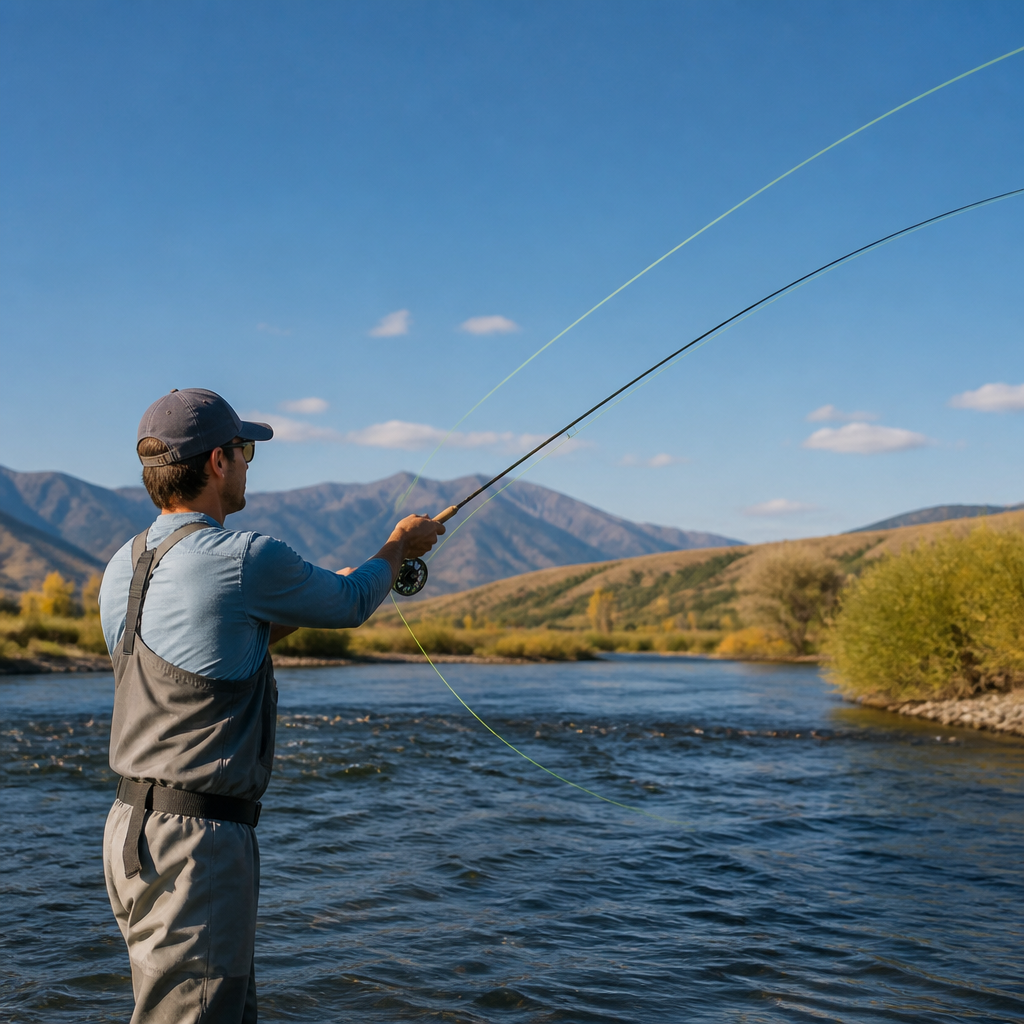
Using indicators in nymph fishing is one of the fastest ways to improve strike detection, depth control, and overall trout catch rates, especially when subsurface feeding dominates a river system. In practical terms, a strike indicator is a highly visible floating reference point attached to the leader that helps an angler track drift speed, maintain target depth, and recognize subtle takes that would otherwise go unseen. Nymph fishing itself refers to presenting subsurface fly patterns that imitate aquatic insects in immature stages, along with larvae, pupae, worms, and other underwater food sources. Because trout feed below the surface far more often than many anglers realize, learning to use indicators well is not a minor skill; it is a foundational method for catching fish consistently across freestone rivers, tailwaters, spring creeks, and stillwater edges.
I have used indicators on everything from small pocketwater streams to broad Western tailwaters, and the biggest lesson is that the indicator is not merely a bite alarm. It is part of the entire rigging system. Its size, buoyancy, placement, and relationship to split shot, fly weight, current speed, and water depth directly affect presentation. When beginners struggle with nymphing, the issue is often not fly selection at all. More commonly, the flies drift too high, the leader lands with drag, the indicator is too large for shallow water, or the angler reacts too late because the take looks like hesitation rather than a dramatic plunge.
This matters because trout rarely give generous signals. Many eats register as a micro-stall, a sideways slide, a half-inch dip, or the indicator simply moving at a different pace than the bubbles around it. A well-set indicator rig converts those nearly invisible moments into fish in the net. It also creates a repeatable system for covering water. You can probe seams, shelves, plunge pools, riffles, and deep buckets with measurable precision instead of guessing where the flies travel. For anglers building competence in nymphing techniques, indicators provide structure: they teach line control, drift reading, depth adjustment, and hook-setting discipline. As a hub within nymphing techniques, this guide explains when indicators shine, how to rig them, how to adapt them to specific water types, and what mistakes most often cost trout.
What an Indicator Actually Does in Nymph Fishing
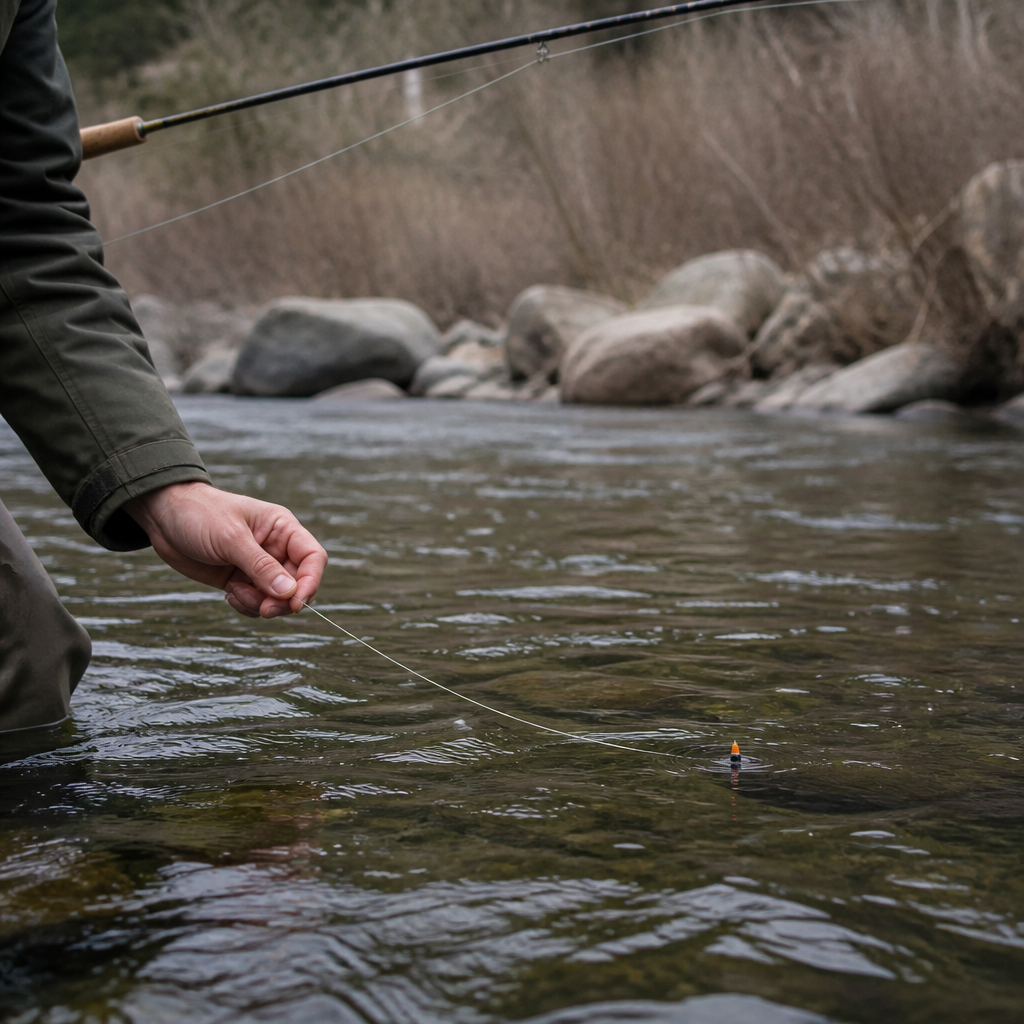
An indicator serves three jobs at once. First, it suspends or helps suspend the nymph rig at a defined depth. Second, it gives a visual cue when the flies stop, slow, or change direction because a fish has eaten. Third, it acts as a drift reference, showing whether the rig is floating naturally with the current or being pulled by leader tension. The best anglers watch all three functions continuously.
In classic indicator nymphing, the flies drift beneath the indicator at a set distance, often one and a half to two times the water depth as a starting point. That ratio is not arbitrary. It accounts for current speed, leader angle, split shot mass, and the fact that flies do not hang perfectly vertical under the float. In three feet of medium current, for example, placing the indicator roughly four and a half to six feet above the point fly often gets the rig near the strike zone. In faster water, you may need more separation or additional weight. In slow clear water, less bulk and a more exact depth often produce better drifts.
Indicators are especially useful for contact management at moderate range. Tight-line methods excel at short distance and direct connection, but an indicator rig allows controlled drifts farther away, across multiple seams, and through deep lanes where maintaining direct contact would drag the flies unnaturally. On large rivers such as the Madison, Delaware, or San Juan, that advantage is substantial. It lets you fish long slicks, soft shelves, and midriver troughs from a stable casting lane while still seeing takes clearly.
Choosing the Right Indicator, Leader, and Weight
Indicator choice affects sensitivity more than most anglers think. Small yarn indicators land softly and excel in low, clear flows where trout spook easily. Foam and air-lock style indicators offer adjustability and strong buoyancy for split shot and multi-fly rigs. Stick-on types can work for delicate situations but often slip, sink, or kink leaders after repeated adjustments. New Zealand wool systems remain popular because they can be tuned to different sizes and treated with floatant for excellent visibility without excessive splash.
Leader design should match water type and rig weight. For many trout rivers, a 9-foot leader tapered to 3X or 4X plus additional tippet sections provides a practical baseline. Heavier butt sections turn over the indicator; thinner terminal tippet allows better sink and more natural movement. If you are fishing a two-fly setup with tungsten nymphs and shot, using 3X to the sighter section and 4X or 5X to the flies often balances turnover and stealth. On pressured spring creeks, longer leaders and finer tippet may be necessary. In heavy pocketwater, stout material improves turnover and fish control.
Weight placement matters as much as amount. Split shot positioned six to ten inches above the upper fly sinks the rig quickly and keeps the nymphs near the bottom. If the shot sits too far away, the flies may ride above the feeding lane. If it sits too close, the drift can look rigid and snag more frequently. Tungsten bead flies reduce external weight needs, but many productive rigs still combine both. As a rule, occasional bottom contact is evidence of effective depth. Never ticking the bottom usually means fishing too high.
| Condition | Indicator Choice | Leader and Tippet | Weight Strategy |
|---|---|---|---|
| Shallow clear riffles | Small yarn or compact foam | Longer leader, 4X to 5X tippet | Minimal shot, light tungsten fly |
| Deep fast runs | Large buoyant foam or air-lock | 9 to 12 foot leader, 3X to 4X | Split shot plus tungsten point fly |
| Pocketwater | Bright medium foam | Shorter stout leader, 3X to 4X | Enough shot to touch bottom repeatedly |
| Spring creek flats | Subtle yarn, low-profile color | Long fine leader, 5X to 6X | Very light weight, exact depth setting |
Rigging for Depth, Drift, and Fast Adjustments
The standard trout setup uses the indicator above a knot or adjustable attachment point, then leader or tippet to split shot, then one or two flies. A common arrangement is indicator to shot, shot to anchor fly, and anchor fly to dropper. I usually place the heavier fly on point in faster water because it stabilizes the drift and reaches depth quickly. In flatter currents, a lighter upper fly and a smaller trailing pattern can look more natural. Both can work, but consistency comes from understanding what each change does.
Depth is the central variable. Start with the indicator set at one and a half times estimated depth, then adjust every few drifts. If you never hang bottom, slide it up. If you snag every cast, slide it down or reduce weight. Skilled anglers make these changes quickly and without frustration. They treat the first minutes in a run as calibration. Once the drift begins touching the lower third of the water column consistently, take rates usually improve.
Mending is equally important. After the cast, an upstream mend reduces drag and helps the indicator lead the flies at current speed rather than pulling them across the seam. On complex currents, multiple small mends work better than one exaggerated move. The goal is not to reposition the indicator dramatically; it is to keep leader tension low enough that the flies sink and drift freely. When the indicator races ahead of surrounding surface bubbles, the rig is being dragged. When it lags naturally and tracks the seam, your drift is usually closer to correct.
Reading Takes and Setting the Hook
The instruction I give most often is simple: set on anything unusual. If the indicator dips, twitches, stalls, tips, slides sideways, or moves at a speed inconsistent with the current, lift firmly. Trout often inhale and reject nymphs in less than a second. Waiting for a dramatic submersion misses fish. A compact upstream or side hook set with the rod hand, followed by immediate tension from the line hand, is more effective than a sweeping bass-style motion.
Good take detection starts before the indicator moves. Watch the bubbles, foam lines, and current tongues around it. If the indicator suddenly hesitates while the nearby bubbles continue at the same speed, something below changed. Sometimes that is the bottom; often it is a fish. Distinguishing those two outcomes comes with repetition, but both responses are useful. A bottom tick confirms depth. A fish confirms the drift passed through feeding water. Either way, the indicator told you something valuable.
Visibility also influences reaction time. In glare, chop, or broken light, bright top colors such as orange, pink, or chartreuse are easier to track. In flat light on spring creeks, oversized fluorescent indicators can spook fish and create too much splash on delivery. I often carry multiple sizes in each color and change them more often than I change flies. That habit alone improves efficiency because strike detection is only as good as what you can actually see.
Where Indicator Nymphing Works Best
Indicator nymphing excels in runs deep enough to require suspension and long enough to permit a natural drift. Think riffle-to-run transitions, tailouts dropping into slots, soft seams beside heavy current, and buckets below ledges. It is also highly effective in winter, when trout hold deeper and feed conservatively. On tailwaters with stable flows, indicator rigs let you cover pods of fish methodically without moving them off lies with repeated false casts.
Freestone rivers reward a slightly different approach. In broken pocketwater, shorter drifts, faster recasts, and aggressive weight help the rig penetrate quickly between rocks. The indicator still matters, but drift length is less important than dropping the flies into each pocket and watching for immediate stalls. In smooth glides, stealth becomes critical. Longer casts, longer leaders, smaller indicators, and fewer mends reduce disturbance. The same system adapts, but only if the angler adjusts scale and tempo to the water in front of them.
There are limits. In very shallow water, direct contact methods often outperform indicators because fish may eat before the rig settles under the float. In heavy wind, large indicators can skate and pull the flies. In tight overgrown streams, they are awkward to cast. That does not make them inferior. It means indicator nymphing is one tool in a broader nymphing toolkit, and strong anglers know when to switch to euro nymphing, high sticking, or short-line drifts for better control.
Common Mistakes and How to Fix Them
The most common mistake is fishing too shallow. Anglers worry about snagging and end up drifting above the trout. Fix this by adding weight gradually and moving the indicator farther from the flies until you contact bottom occasionally. The second mistake is using an indicator too large for the situation. Oversized foam floats cast loudly, reduce sensitivity, and create splash. Match buoyancy to rig weight, not to habit.
Another frequent problem is poor casting mechanics. Indicator rigs are weighted systems, not dry-fly leaders. Open your loop, slow the stroke, and use a water-loaded cast or tuck cast when needed. Trying to force tight loops with split shot leads to tangles and dangerous rebounds. Leader twist and knot failure often trace back to rushed casting rather than bad materials.
Finally, many anglers watch only the indicator and ignore line management after the drift passes. Once the float moves below you, drag increases fast. Recast before the flies begin swinging unnaturally unless you deliberately want that effect. Productive nymphing comes from repeated clean drifts through likely lies, not from leaving the rig in the water as long as possible.
Using indicators in nymph fishing gives anglers a reliable system for presenting flies at trout level, reading subtle takes, and adjusting quickly to changing current, depth, and fish behavior. The core principles are consistent: choose an indicator sized for the weight you are carrying, set depth deliberately, mend to reduce drag, and treat every unusual movement as a possible strike. When those habits become automatic, indicator nymphing stops feeling random and starts becoming measurable. You know why a drift worked, why it failed, and what to change next.
As the hub for nymphing techniques, this approach connects directly to related skills such as split shot placement, two-fly rig design, seasonal depth adjustment, reading seams, and deciding when direct-contact methods offer better control. Indicators are not training wheels. In many rivers, they are the most efficient way to fish subsurface water thoroughly and consistently. Refine the setup, practice reading micro-movements, and calibrate depth with intent. The reward is simple: more natural drifts, faster feedback, and more trout brought to hand. On your next outing, dedicate one session to indicator adjustments alone, and you will learn more than by changing flies all day.
Frequently Asked Questions
What does a strike indicator actually do in nymph fishing?
A strike indicator serves as a visual reference point that helps you monitor your drift, control depth, and detect strikes that are often too subtle to feel. In nymph fishing, trout usually take flies underwater with very little commotion, especially in colder water or during periods when fish are feeding close to the bottom. Without an indicator, many of those takes go unnoticed because there may be no sharp pull on the line. The indicator solves that problem by floating on the surface and signaling changes below it. If it hesitates, twitches, stops unnaturally, dips, or moves sideways faster or slower than the current around it, there is a good chance a fish has eaten your fly.
Beyond strike detection, indicators also help with depth management. Because they are positioned a set distance above the flies, they give you a practical way to fish a consistent water column. That matters because trout feeding subsurface are often holding in very specific lanes and depths where current speed, oxygen, and food delivery are ideal. An indicator lets you repeat productive presentations more precisely, which is one of the main reasons it improves catch rates. In short, it is not just a bobber for watching bites. It is a drift-control tool, a depth reference, and one of the most efficient ways to turn unseen subsurface activity into readable information.
How do I choose the right indicator size and style for different water conditions?
The right indicator depends on current speed, water depth, fly weight, casting distance, and overall visibility. Larger indicators are better when you are fishing deep runs, using heavier split shot or multiple nymphs, or casting farther away where seeing a small marker becomes difficult. They suspend weight more effectively and are easier to track in broken surface water. Smaller indicators are often better in shallow water, slow pools, low clear flows, or highly pressured trout streams where subtle presentation matters. They land more softly, create less disturbance, and can be more sensitive when fish are taking gently.
Style matters too. Foam and air-lock style indicators offer buoyancy and visibility, making them good choices for heavier nymph rigs and faster water. Yarn indicators land delicately and can be very effective in technical conditions, especially when a softer presentation is needed. Sticky putty indicators can be useful for fine-tuning buoyancy or making quick adjustments, though they may be less durable in some conditions. Color is also important. Bright colors like orange, pink, or chartreuse stand out against glare and broken water, while two-tone indicators can improve visibility under changing light.
A practical rule is to choose the smallest indicator that will still float your rig properly and remain easy to see. If the indicator is constantly dragging the flies unnaturally or splashing down too hard, it may be too large. If it sinks, disappears in riffles, or fails to suspend your weight and flies at the proper depth, it is probably too small. Matching indicator size and style to the river conditions is one of the simplest ways to improve both presentation and strike detection.
Where should I place the indicator on the leader for proper depth control?
A common starting point is to place the indicator about one and a half to two times the water depth above the bottom fly, especially in moving water. This extra distance accounts for the angle created by current and leader tension, allowing the flies to sink naturally and drift near the strike zone rather than riding too high. For example, if a run is four feet deep, setting the indicator roughly six to eight feet above the fly is often a solid first adjustment. That said, exact placement depends on current speed, the amount of weight in the rig, and how quickly the flies can get down.
If you are not occasionally ticking bottom in a nymphing run where trout are likely holding deep, your setup may be too shallow. On the other hand, if you are snagging constantly, dragging the flies, or hanging up every drift, you are probably set too deep or using too much weight. The best approach is to make small adjustments until the rig drifts naturally through the target lane with just enough contact to suggest the flies are traveling near the bottom. This is where indicators become especially valuable, because they let you make repeatable changes and quickly learn how the river is structured.
It also helps to think in terms of drift path rather than just depth. As your indicator enters faster or slower seams, the leader angle changes, which affects how deep the flies ride. Skilled anglers adjust indicator placement frequently during the day as they move between riffles, runs, pocket water, and deeper slots. Good nymph fishing is rarely a set-it-and-forget-it system. The indicator is part of an ongoing calibration process that keeps your flies in the feeding lane where trout are most likely to take them.
How can I tell the difference between a real strike and normal current movement?
This is one of the most important skills in indicator nymphing, and it improves dramatically with experience. A real strike often shows up as anything that looks out of sync with the natural drift. That might mean the indicator stops suddenly, dips below the surface, twitches, slows unexpectedly, accelerates sideways, or behaves differently than the bubbles and current around it. In many cases, trout do not smash a nymph. They simply inhale it and hold position, which can make the indicator pause almost imperceptibly. If the drift looks even slightly unnatural, the safest habit is to set the hook.
Current, of course, creates false signals. Eddies, conflicting seams, submerged rocks, and changing speeds can all pull the indicator in unpredictable ways. The key is learning to read whether that movement makes sense based on what the water is doing. If the indicator stalls at the exact point where a seam slows down or where a rock likely interrupts the drift, it could be bottom contact. But if it makes a sudden sharp movement with no visible reason, especially in a clean feeding lane, it may be a fish. Watching the speed of nearby foam lines and bubbles helps establish what a natural drift should look like.
Many experienced anglers follow a simple rule: when in doubt, lift the rod and set. Hook sets cost very little when done efficiently, and trout often reject a nymph quickly. Hesitation means missed fish. Over time, you will start to recognize patterns in how your indicator reacts to current versus fish. Until then, assume subtle anomalies matter. That mindset alone often leads to more hookups because many takes in nymph fishing are detected only as the faintest interruption in the drift.
What are the most common mistakes anglers make when using indicators in nymph fishing?
One of the biggest mistakes is fishing at the wrong depth. Many anglers place the indicator too close to the flies, which keeps the rig above the strike zone and results in drifts that look clean but pass over feeding trout. Since nymphs naturally drift near the bottom where trout commonly hold, being too shallow is a major problem. Another common issue is failing to adjust throughout the day. River depth, current speed, and trout position change from one run to the next, so the same indicator placement rarely works everywhere.
A second major mistake is using poor line control. Even with the perfect indicator setup, drag on the leader or fly line can pull the indicator unnaturally and sweep the flies out of the feeding lane. Good indicator nymphing still requires mending, leading the drift properly, and keeping as much conflicting current off the line as possible. Anglers also often choose indicators that are too large, too small, or too hard to see in the available light. If you cannot see the indicator clearly, you will miss subtle takes. If it is oversized, it can create splash, spook fish, and interfere with a natural drift.
Another frequent error is not setting the hook often enough. Trout taking nymphs underwater are rarely obvious, and waiting for a dramatic dunk leads to missed opportunities. Finally, many anglers focus only on the indicator and ignore the water. The indicator is a tool, but it makes the most sense when paired with an understanding of current seams, likely holding water, bottom structure, and insect behavior. The best results come when you use the indicator not just to watch for strikes, but to understand how your entire rig is moving through the river. That combination of observation, adjustment, and quick response is what makes indicator nymphing so effective.