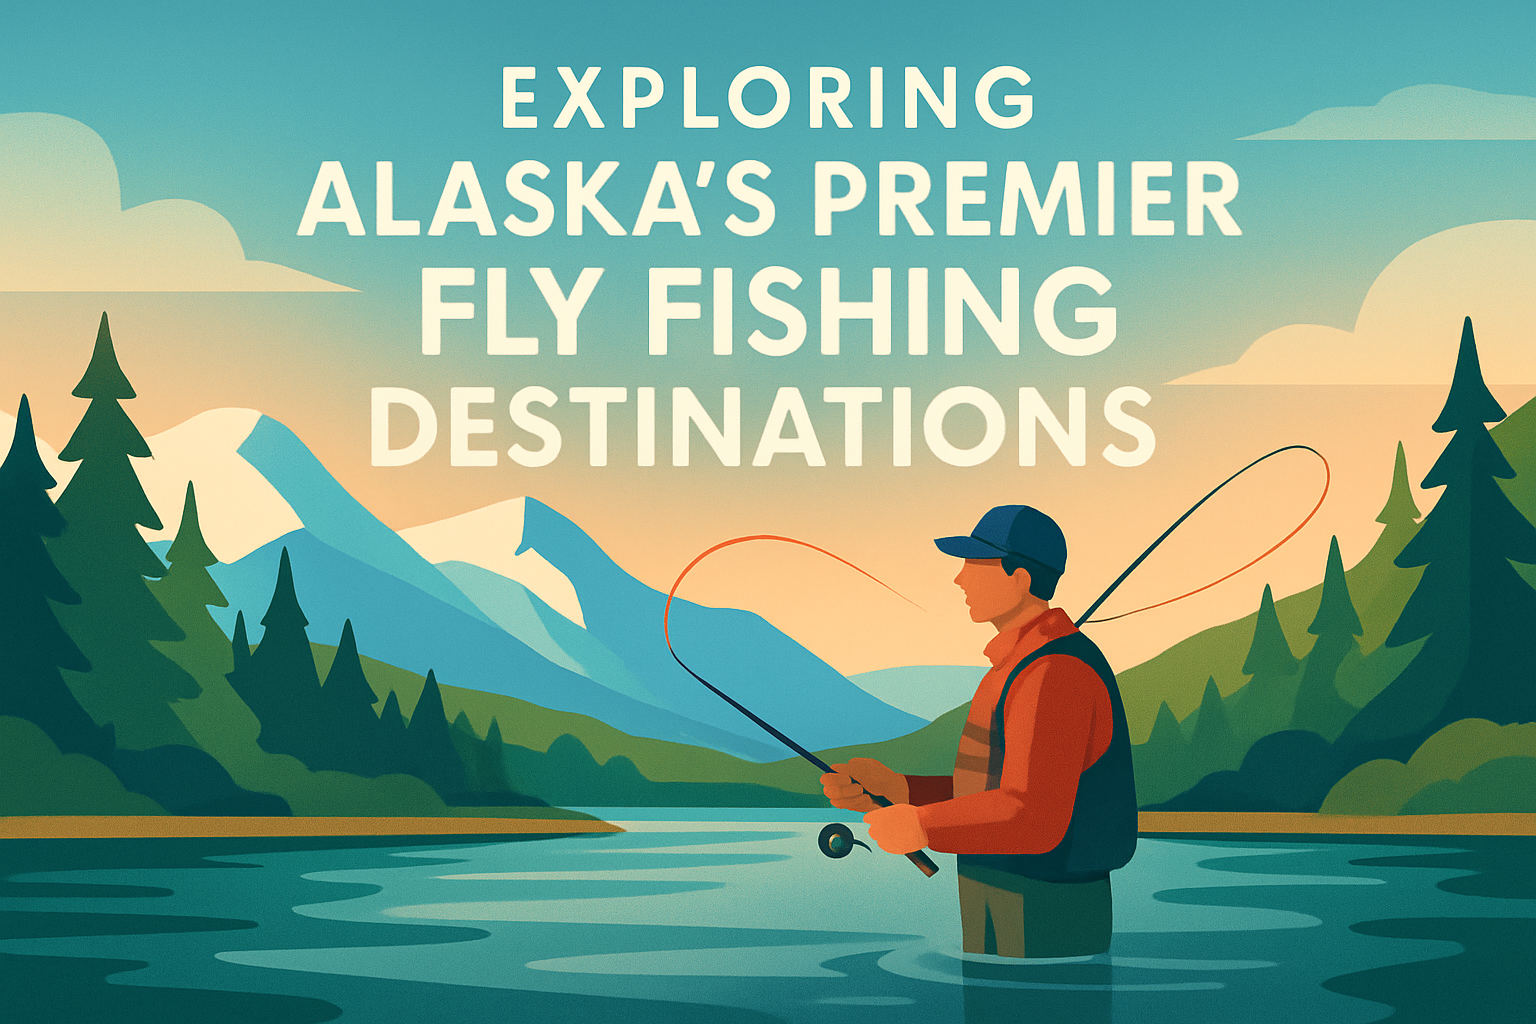
International fly fishing photography combines three demanding disciplines at once: angling, travel, and visual storytelling. When you are crossing borders to chase permit in Belize, taimen in Mongolia, brown trout in Patagonia, or Atlantic salmon in Iceland, the margin for error shrinks quickly. Weather changes fast, baggage rules vary by airline, and many of the best moments happen knee-deep in moving water with only seconds to react. Good planning turns those constraints into usable images instead of missed opportunities.
For this sub-pillar hub on tips for international travel, the goal is simple: help traveling anglers come home with strong photographs without compromising the fishing experience. In practical terms, fly fishing photography means documenting landscapes, guides, cultural context, travel logistics, gear details, fish handling, and action on the water in a way that is technically sound and ethically responsible. International travel adds customs rules, electrical standards, language barriers, insurance questions, weather extremes, and local conservation norms that do not usually affect a weekend trip close to home.
I have learned this the hard way on destination trips where a damp passport delayed a domestic transfer, where lithium battery limits forced a gate-side repack, and where the best fish photo of the week happened only because the camera was preset before the guide poled onto a flat. The reason this topic matters is that destination fishing is expensive, often once-in-a-lifetime, and increasingly judged through the images anglers share. Better photographs preserve memories, support outfitters and guides, and communicate respect for fisheries and host communities.
This hub covers the travel side comprehensively: how to choose a camera kit for flights and rough boats, how to protect files in remote areas, how to work with guides across language differences, how to photograph fish safely, and how to prepare for customs, charging, weather, and transport. If you are wondering what camera gear to pack, how to travel with batteries, how to keep equipment dry, or how to take better fish photos abroad, this article answers those questions directly and gives you a framework you can adapt to any destination.
Build a travel-ready camera kit
The best international fly fishing camera kit is the lightest setup that reliably handles spray, low light, and fast action. In most destinations, that means one weather-sealed body, two lenses, spare batteries, fast memory cards, a microfiber cloth, silica gel packs, and a truly waterproof carry solution. Mirrorless bodies from Sony, Canon, Nikon, Fujifilm, and OM System all work well, but durability and battery management matter more than chasing the newest sensor. I usually recommend a wide-to-normal zoom for boat scenes and landscapes, plus a short telephoto for casting shots, wildlife, and compressed mountain backgrounds.
A practical two-lens combination is 24-70mm and 70-200mm on full frame, or their APS-C equivalents. If your trip emphasizes fish portraits and close boat work, a 35mm or 50mm prime can replace the telephoto and save weight. Action cameras are useful for point-of-view clips and foul-weather backup, but they should not be your only camera if still photography matters. Phones can produce excellent destination images, especially with current computational photography, yet they struggle with glare, droplets, and distant subjects compared with dedicated cameras. Keep the main kit compact enough to stay with you in the cabin on every flight segment.
Protection matters as much as optics. A hard case is valuable in trucks and skiffs, but a submersible backpack or sling is often better while actually fishing. Pelican, Nanuk, and YETI make strong hard cases; Simms, Fishpond, and Patagonia offer fishing-specific waterproof bags. Use padded dividers so a body with lens attached can be drawn quickly with one hand. On saltwater trips, I rinse the exterior of cases and straps with fresh water daily because dried salt crystals destroy zippers and abrade coatings faster than many anglers realize.
Prepare for airports, customs, and power needs
International travel failures usually happen before the first cast. Airlines treat camera gear, rod tubes, reels, batteries, and tripods differently, and those rules can change by carrier and route. Always verify cabin dimensions and lithium-ion battery policies on the operating airline, not just the ticketing airline. Most carriers require spare lithium batteries in carry-on baggage with terminals protected. Keep each battery in a plastic case or tape over contacts. If your chargers support 100-240V, you need only plug adapters for local outlet types; if they do not, a voltage converter is required, and those are bulkier than most anglers expect.
Documentation matters too. Carry serial numbers for camera bodies, lenses, drones if permitted, and computers. For expensive gear, many traveling photographers use a customs registration form from their home country before departure to simplify re-entry and prove prior ownership. Insurance should specifically cover international travel, water exposure, and accidental damage, because standard homeowners policies often exclude commercial-style camera losses or have low sublimits. Back up itinerary details, outfitter contacts, transfer schedules, and emergency numbers offline on your phone in case airport Wi-Fi fails when plans change.
Remote lodges also create power problems. Generators may shut off overnight, skiffs may have limited charging ports, and some camps run only a few hours of electricity each day. A small USB-C power bank that is airline compliant can keep a phone and card reader alive during transfers. For camera systems that charge by USB-C, this is especially useful. In very cold destinations such as Tierra del Fuego or Iceland, store batteries inside your jacket between sessions because capacity drops sharply in low temperatures. In humid tropics, let cameras acclimate inside the bag before opening it to reduce condensation on sensors and lens elements.
Dial in settings before the fishing starts
The biggest photography mistake I see on international trips is waiting until fish appear to think about settings. Water scenes are deceptive: bright reflections fool meters, fish move quickly, and anglers rarely repeat the same cast. Build a dependable baseline before leaving the lodge or boat ramp. For general fishing action, use shutter priority or manual mode with auto ISO, set a minimum shutter speed of 1/1600 for casting sequences, and enable continuous autofocus with subject tracking if your camera offers it. For fish portraits held low over water, a shutter speed around 1/500 to 1/1000 usually works if everyone is steady.
White balance can stay on auto in mixed conditions, but shoot raw if possible so sunrise warmth and green jungle reflections are easy to correct later. Exposure compensation is critical around water. On bright flats, I often dial in minus one-third to minus two-thirds stop to protect highlights on clouds and fish scales. In dark canyon rivers or under overcast skies, positive compensation may be needed to keep faces from going muddy under hat brims. Polarizing filters help manage glare on landscapes and shallow-water scenes, but they also cost light, so remove them when action gets fast or clouds move in.
Presetting custom modes saves fish. One mode can be dedicated to action, another to hero shots, and a third to landscapes at sunrise. If your camera allows back-button focus, use it. Separating focus from the shutter makes timing easier when a fish jumps or a guide leans into frame unexpectedly. Burst mode is useful but should be controlled; spraying at maximum frame rate all day fills cards, drains batteries, and slows editing. The goal is not more files. The goal is a small set of sharp, well-composed images that tell the full story of a destination trip.
Work with guides, anglers, and local culture respectfully
The strongest destination photos often depend less on equipment than on communication. Before the first session, tell your guide what kind of images you want: casting from the bow, netting sequences, lodge life, fly details, portraits, or environmental frames that show the river valley. Ask how the day will unfold, where the best light usually falls, and whether there are local norms about photographing people, villages, boats, or sacred places. In many countries, a polite question and a smile change everything. People become collaborators instead of wary subjects.
Guides are also your best source for timing. Bonefish guides know when the sun angle reveals tails on a flat. Steelhead and salmon guides know where spray catches backlight. Trout guides know which banks create clean backgrounds. Build a simple vocabulary if you do not share a language: “one more cast,” “fish photo,” “please hold low,” “look at me,” and “wait.” Translating these phrases in advance on your phone can prevent confusion during the few seconds when a fish is in hand. If tipping is customary, remember that extra photographic effort from a guide is work and should be treated as such.
Respect extends beyond manners. Avoid making local communities into props for a travel aesthetic. Show place with context: boats tied at dawn, flies drying on a windowsill, hands mending leaders, boots at a lodge door, market scenes connected to the trip. These images communicate destination character more honestly than a stream of grip-and-grin portraits. They also help outfitters market experiences responsibly when you share images later. If children or private homes are involved, seek clear permission. International fishing travel is a privilege, and the photographs should reflect that awareness.
Photograph fish safely and make the image stronger
Good fish photography abroad starts with fish welfare. The standard is clear across reputable catch-and-release fisheries: minimize air exposure, keep fish wet, support the body horizontally, avoid squeezing the gills, and be ready before lifting the fish. Many lodges now coach this routinely because poor handling in shared online images damages both fish and destination reputation. A great fish picture is not the one where the fish is held highest. It is the one where the fish looks powerful, the angler looks present, and the release happens quickly.
Composition improves dramatically when anglers kneel at water level rather than standing upright with arms extended. Keep the fish over the river or net, not over rocks or a boat deck. Turn the fish slightly toward the camera, angle the angler’s face into the light, and watch backgrounds for motors, coolers, and other distractions. Wide lenses create intimacy, but get too close and the fish becomes distorted. Mid-range focal lengths often produce the most natural proportions. For species like tarpon, taimen, GT, or large salmonids, prioritize in-water shots and release sequences over prolonged lifts.
| Scenario | Best approach | Why it works |
|---|---|---|
| Trout in current | Kneel downstream, fish half-submerged, 50mm to 70mm view | Shows pattern and size while limiting air exposure |
| Bonefish on flats | Keep fish low, use side light, include water texture | Highlights chrome color and destination atmosphere |
| Large salmon or steelhead | Plan one lift only, focus on eyes, shoot release immediately after | Protects the fish and captures a complete story |
| Boat-based pike or peacock bass | Clear the deck first, use continuous autofocus, shoot vertical and horizontal frames | Reduces clutter and gives more publishing options |
If a fish is exhausted after a long fight in warm water, skip the hero shot. That judgment matters more than any image. Ethical photography protects the resource that made the trip possible in the first place.
Protect files, edit efficiently, and build a destination story
Once you are traveling internationally, one card is no card. Use cameras with dual card slots if possible and record to both cards simultaneously on important trips. At the end of each day, copy files to a rugged SSD such as a Samsung T7 Shield or SanDisk Extreme Portable, then keep cards and drive in separate bags. If internet is strong enough, upload selects to cloud storage, but assume many lodges will not support full raw backups. A cheap card wallet with date labels helps maintain order when days blur together across transfers and multiple rivers.
Editing on the road should be fast and disciplined. Build a simple sequence: ingest, cull obvious misses, flag storytelling images, apply a basic metadata template, then make only light global adjustments until you return home to a calibrated monitor. Adobe Lightroom Classic, Lightroom, Capture One, and Photo Mechanic are the common workhorses. Resist over-saturating turquoise water or pushing clarity until skin and scales look brittle. Destination fly fishing photography should feel believable. Editors, outfitters, and publication managers all prefer files that retain natural color, recoverable highlights, and clean compositions over trendy processing.
Think in terms of a complete visual package. A useful international trip gallery usually includes establishing landscapes, travel transitions, gear close-ups, guide portraits, action sequences, fish handling, food or lodge details, and quiet in-between moments. That range helps this page serve as a hub within broader fly fishing destinations content because readers exploring a country or species want to understand the experience, not just the catch. When you caption images, include place names, species, season, guide or lodge credits, and relevant techniques. Accurate details make your archive more valuable over time and easier to use for future destination planning.
International fly fishing photography rewards preparation more than luck. Pack a compact, weather-ready kit; understand airline, customs, battery, and power rules; preset your camera before the action begins; communicate clearly with guides; handle fish with care; and protect your files every day. Those habits consistently produce better images because they reduce avoidable mistakes and free you to notice timing, light, and story. The main benefit is not simply prettier pictures. It is a more complete record of the destination, the people who made the trip possible, and the fishery itself.
As a hub for tips for international travel within the broader fly fishing destinations topic, this article gives you the operating system behind every country-specific trip report and gear guide. Whether you are planning your first passport-based fishing journey or refining a proven travel workflow, the same fundamentals apply: travel lighter, prepare earlier, shoot with intention, and publish responsibly. If you are building your next destination plan, use these principles to create a packing list, a shot list, and a backup routine before you book the final flight. That simple step will improve every image you bring home.
Frequently Asked Questions
What camera gear should I bring for international fly fishing photography without overpacking?
The best kit for international fly fishing photography is usually the lightest setup that still lets you work fast in wet, unpredictable conditions. Most traveling anglers do better with one dependable camera body, one backup option, and a small lens selection rather than a heavy, highly specialized bag. A weather-sealed mirrorless or DSLR body paired with a versatile zoom such as a 24-70mm equivalent covers most storytelling situations, from grip-and-grin portraits to lodge scenes, riverscapes, and guide interactions. If you want a second lens, a short telephoto like a 70-200mm equivalent is extremely useful for keeping distance from spooky fish, compressing mountain backdrops, and photographing anglers in action from the bank or boat.
A compact waterproof camera or even a well-protected phone can be your smartest backup because many of the most memorable moments happen when your primary camera is stowed. In remote destinations, redundancy matters more than perfection. Batteries drain faster in cold places like Iceland or Patagonia, and charging opportunities may be limited at tent camps or on multi-day floats, so carry more batteries than you think you need. Bring extra memory cards and store them in separate dry bags to reduce the risk of losing an entire trip’s images to one damaged card.
Protection and packability are just as important as image quality. Use a carry-on friendly bag that fits airline size limits and keeps expensive gear with you instead of in checked luggage. Add a rain cover, dry bags, lens cloths, silica packs, and a simple microfiber towel. Saltwater destinations such as Belize demand frequent wipe-downs because spray and humidity can quietly damage gear. Wader-friendly accessibility also matters. If your camera is buried under layers of luggage, you will miss the shot. A chest pack, sling, or waterproof waist pack often works better on the water than a traditional backpack. The goal is not to bring every possible tool. It is to bring the few tools you can protect, access quickly, and trust when the fish, light, and action align for only a few seconds.
How can I protect my camera equipment when photographing while wading, boating, or traveling internationally?
Protection starts long before you step into the river. International travel introduces risks from baggage handling, customs inspections, rain, dust, humidity, salt, and rough roads. Keep your main camera gear in your carry-on whenever possible, and use padded inserts so bodies and lenses do not shift during flights or long drives. If you are traveling with lithium batteries, follow airline rules carefully and pack them in carry-on baggage with terminal covers or dedicated battery cases. Label your gear clearly and keep a basic inventory with serial numbers, both for insurance purposes and in case customs or security asks for documentation.
On the water, the biggest mistake photographers make is relying on “carefulness” instead of systems. Use waterproof or highly water-resistant storage every time, even on calm days. A roll-top dry bag inside a larger pack creates an extra layer of security, and a tether or retention strap can save a camera if you slip while wading. In skiffs, rafts, and drift boats, assume everything will get splashed. In tropical flats fisheries, salt is the enemy, so wipe gear regularly and avoid changing lenses in wind or spray. In silty rivers or windy steppe environments like Mongolia, dust and grit can be just as destructive as water. Choose your lens before you leave the vehicle or lodge whenever possible and minimize lens swaps in the field.
Routine maintenance makes a major difference over a long trip. At the end of each day, dry everything, inspect seals and ports, clean lenses carefully, and back up your files before charging batteries. If you have been in saltwater, a gentle wipe-down with a lightly damp cloth followed by drying can help remove residue from the exterior of the camera and accessories. Never leave gear sealed wet in a bag overnight, especially in humid climates. Condensation is another hidden problem when moving between cold mornings, warm vehicles, and heated lodges, so allow equipment to acclimate gradually. Good field protection is not glamorous, but it is what keeps your camera functioning through border crossings, weather swings, and long fishing days far from the nearest repair shop.
What are the best photo opportunities to look for on an international fly fishing trip?
The strongest fly fishing images rarely come from fish photos alone. Great international trip coverage blends action, place, culture, and detail into a complete story. Start by thinking beyond the hero shot. Photograph the pre-dawn packing routine, fly boxes on a weathered table, local boats at the dock, guides studying tides or river levels, and the surrounding landscape that makes the fishery unique. Belize may offer skiffs, mangroves, and broad flats under hard tropical light. Patagonia may offer wind, horse trails, and expansive steppe. Iceland may give you volcanic textures and dramatic river structure. Mongolia may combine remote camps, broad valleys, and cultural moments with your time on the water. These contextual scenes tell viewers where you are and why the destination matters.
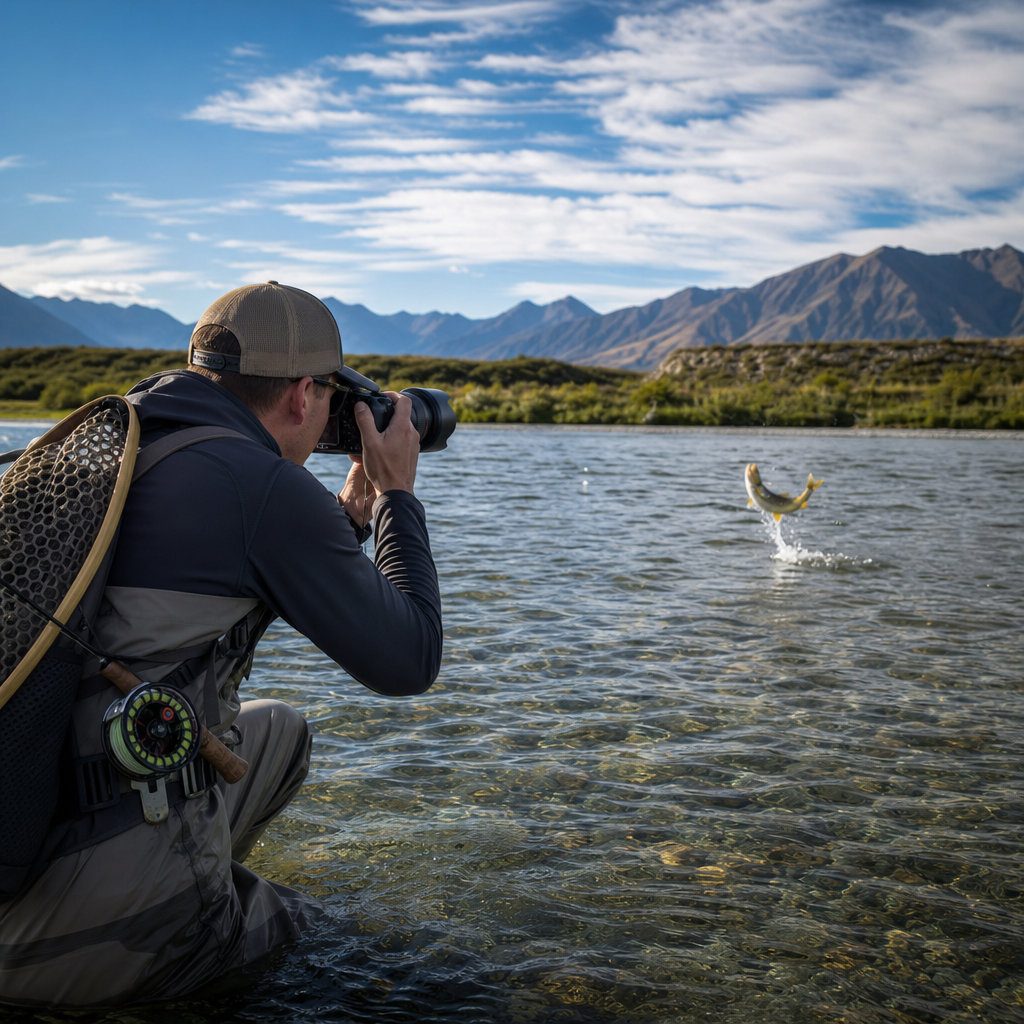
During fishing itself, watch for anticipation and movement rather than waiting only for the catch. The cast, the strip set, line burning through the guides, a guide spotting fish from the poling platform, an angler bracing in current, or the split-second reaction after a refusal can all be visually richer than a standard landed-fish portrait. If a fish is landed, work quickly and responsibly to capture variety: a wide environmental frame, a tighter portrait, a detail of the fly in the jaw if safe and ethical, and a release image if it can be done without prolonging handling. Wet hands, minimal air exposure, and efficient coordination should always come before the photo.
Some of the best images happen at the edges of the day. Early and late light can transform ordinary scenes into memorable ones, especially in mountain or coastal environments. Weather is also your ally if you are prepared. Rain squalls, fog, harsh wind, or incoming storms add mood and authenticity. Finally, make time for people. Portraits of guides, camp staff, local anglers, and travel companions often become the most meaningful photographs from an international trip because they connect the fishery to human experience. If your gallery shows only fish, it documents success. If it shows people, place, effort, and atmosphere, it tells a real story.
How do I capture better fish and angler portraits while still handling fish responsibly?
Responsible fish handling and strong photography should work together, not compete. The key is preparation before the fish ever comes to hand. Set your exposure, choose your lens, communicate with the angler, and decide exactly where the photo will happen while the fish is still being played. That way, when the fish is ready, the process is quick and controlled. Keep the fish in the water as much as possible, and lift it only briefly when both the photographer and angler are ready. This is especially important for cold-water species such as trout and salmon, as well as warm-water species stressed by heat or long fights.
From a visual standpoint, flattering fish portraits usually come from getting close with a wider lens rather than standing back and zooming in. A moderate wide angle can make the scene feel immersive and include just enough environment to preserve a sense of place, but be careful not to exaggerate the fish unrealistically by having it pushed too far toward the lens. Keep the fish level, support it properly, and ask the angler to hold it naturally with elbows relaxed. Turn the fish slightly so the body shape and markings are visible, and position the angler so the face is engaged and the light is favorable. If the sun is harsh, look for open shade or use the angler’s body to soften shadows across the fish.
Variety helps. Take a horizontal frame, a vertical frame, a wider environmental portrait, and one close detail if time allows. Then move immediately to the release. Release images can be especially powerful because they show respect for the fish and the fishery, but they require timing and restraint. Focus on the angler’s hands, the fish’s head in the current, or the moment just before the tail kick. Avoid extended “photo sessions” that compromise the fish for the sake of content. In well-run international fisheries, ethical handling is part of the culture, and your images should reflect that standard. The best portrait is one that looks authentic, preserves the fish’s dignity, and leaves the fish in strong condition to swim away.
How should I plan for weather, lighting, and travel logistics when photographing fly fishing abroad?
Successful international fly fishing photography is built on planning because once you arrive, conditions move fast and options narrow. Start by researching not just the fishery, but the season’s weather patterns, daylight hours, water clarity, and likely clothing systems. A week in Iceland may involve cold rain, strong wind, and long twilight. Belize can bring intense sun, humidity, sudden squalls, and salt spray. Patagonia may shift from calm morning light to violent wind by midday. Understanding those patterns helps you decide what gear is realistic to carry, when to prioritize scenic shots, and when your camera should stay protected.
Lighting strategy matters more than many anglers realize. Midday sun is often unavoidable because fishing schedules are driven by tides, hatches, or guide plans, but you can still make strong images by embracing back