Fly fishing isn’t just about casting and catching — it’s a deeply rooted tradition that often starts at the tying bench. For many anglers, fly tying is a therapeutic pastime that brings them closer to their sport. One of the most intriguing aspects of fly tying is the use of natural materials like hair and fur. These materials have been utilized for centuries to create lifelike imitations of various insects, baitfish, and other aquatic creatures that entice fish to bite.
Hair and fur offer unique qualities that synthetic materials can’t always replicate. They provide a natural look and movement that can be critical in fooling wary fish. Understanding the properties of different types of hair and fur, as well as the techniques for handling them, can significantly enhance your fly tying skills. Whether you’re a seasoned fly tyer or just getting started, mastering the use of hair and fur in your flies can open up a new world of possibilities. From creating the perfect streamer to crafting a delicate dry fly, the right application of these natural materials can make a big difference in your success on the water.
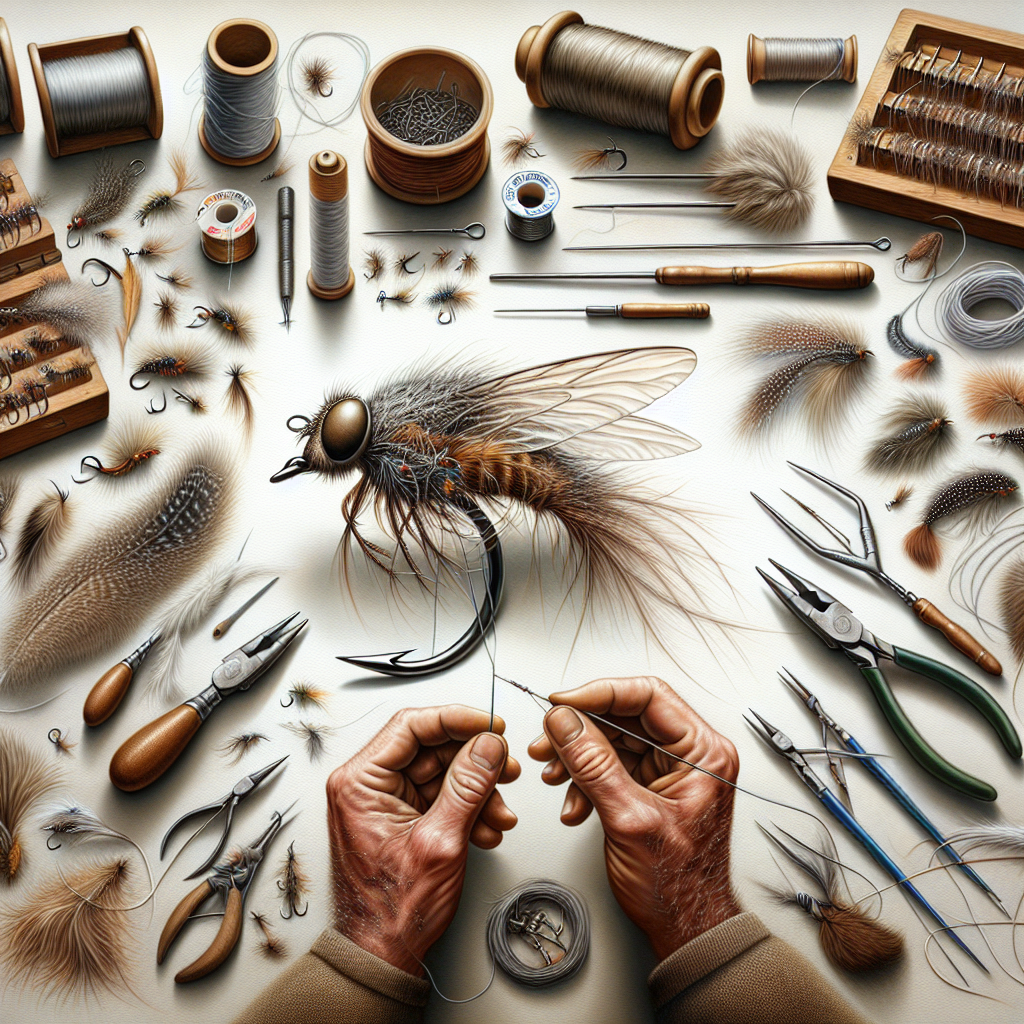
In this guide, we’ll walk you through the essential techniques and tips for using hair and fur in your fly patterns. To get started, you’ll need some basic tools: a vise to hold your hook, a bobbin to manage your thread, scissors for precise cuts, a hair stacker to align tips, and a bodkin for detailed maneuvering. With these tools at hand, you’re ready to explore the versatility and beauty of hair and fur in fly tying.
Choosing the Right Hair and Fur
The first step in mastering hair and fur techniques is understanding the different types available and their specific uses. Not all hair and fur are created equal, and each type has unique properties that make it suitable for particular applications.
Deer Hair: This type of hair is hollow, making it buoyant and ideal for crafting dry flies that float on the surface. Deer hair can also be spun to create bodies and heads for larger flies like bass bugs and muddlers. The natural buoyancy of deer hair makes it a favorite for many fly tyers.
Elk Hair: Similar to deer hair but generally stiffer and more durable, elk hair is often used for tying elk hair caddis and other dry fly patterns. Its stiffness helps maintain the fly’s shape even after repeated strikes from fish.
Moose Hair: Moose hair is much stiffer than deer or elk hair and is excellent for creating tails and wings on dry flies. It’s less buoyant but very durable, making it perfect for crafting flies that need to withstand aggressive fish.
Rabbit Fur: Known for its softness and movement, rabbit fur is ideal for creating lifelike streamer patterns. The fur’s action in the water can mimic the movement of small baitfish or leeches, making it an excellent choice for subsurface flies.
Bear Hair: Typically used for creating robust streamers and saltwater flies, bear hair is coarser and more durable than many other types of hair. Its long fibers offer excellent movement in the water, which can attract larger predatory fish.
Understanding these differences will allow you to select the best material for your specific fly pattern. Take the time to feel and observe these materials, noting their texture, flexibility, and buoyancy. This knowledge will serve as the foundation for your fly tying endeavors involving hair and fur.
Securing Hair and Fur
Once you’ve chosen the right type of hair or fur, the next step is securing it to the hook. This can be a delicate process that requires practice and patience. Here are some key techniques to get you started:
Prep the Materials: Before tying, it’s crucial to prep your hair or fur. Clean and comb through the fibers to remove any underfur or short hairs that might bulk up the tie. Using a hair stacker can help align the tips if you’re creating wings or tails.
Measure and Cut: Measure the length of hair or fur against the hook to ensure it’s the correct size for your fly pattern. Hold the material close to the hook shank and use sharp scissors for a clean cut. This step is essential for maintaining the proportions of your fly.
Secure with Thread: When tying in hair, you’ll typically use the pinch wrap technique. Hold the hair firmly against the hook shank with your thumb and index finger. Make a loose wrap of thread around the hair and hook, then pull the thread tight. This method helps prevent the material from spinning around the shank.
Locking Wraps: After the initial wraps, add several more to lock the hair in place. It’s essential to use enough pressure to secure the material but not so much that you flare or break the hair. For fur, which is usually less robust than hair, gentler wraps are often best.
Trimming Excess: Once the hair or fur is secured, trim any excess close to the hook shank. This will create a neat tie and prevent unnecessary bulk. Precision is key here; sharp scissors will make this task easier. Mastering these basic techniques will ensure that your hair and fur are securely and neatly tied, forming a solid foundation for the rest of your fly.

Spinning Hair
Spinning hair is a popular technique used to create bulky bodies and heads for flies like bass bugs and muddlers. This method involves wrapping hair around the hook shank to form a dense, buoyant mass that can support the weight of larger hooks.
Choosing the Hair: Not all hair is suitable for spinning. Deer belly hair is a common choice due to its hollow, buoyant nature. Round-tip hair is generally superior for spinning because it flares easily and creates a more uniform body.
Prepping the Hair: Similar to securing hair, the preparation step is crucial. Clean the hair to remove any dirt or oils, and use a hair stacker to align the tips if necessary. Measure and cut the hair to an appropriate length for your fly.
Starting the Spin: Position the hair perpendicular to the hook shank, then secure it with a couple of loose thread wraps. As you tighten the wraps, release your grip on the hair. The hair should spin around the hook shank and flare out. This can take a bit of practice to perfect, but the goal is an even distribution of hair around the hook.
Packing the Hair: Use a hair packer tool to push the hair towards the hook’s eye. This step is essential to creating a dense, buoyant body. Continue adding more hair and repeating the spinning and packing process until the body reaches the desired size.
Trimming and Shaping: Once your hair body is complete, use scissors or a razor blade to shape it. For a streamlined look, trim the hair to form a tapered body or head. If you’re creating a bass bug, consider leaving the head a bit bulkier to help it sit on the water surface. Spinning hair can be a fun and rewarding technique, allowing you to create flies that not only look great but also perform exceptionally well in the water.
Creating Streamer Patterns
Streamer patterns are designed to imitate small fish, leeches, or other aquatic prey. The use of hair and fur in streamers can add lifelike movement and texture that often proves irresistible to larger predatory fish. Here’s how to incorporate hair and fur into your streamer patterns:
Choosing the Materials: Rabbit fur, bear hair, and bucktail are excellent choices for streamers. Rabbit fur provides exceptional movement in the water, while bear hair can create longer, more robust streamers. Bucktail is a classic choice for creating a tapered, smooth profile.
Tying the Tail: Start by securing a small clump of hair or fur to the hook shank to form the tail. Ensure the length is appropriate for the pattern you’re tying, generally about one to two times the length of the hook shank. Use the pinch wrap technique to anchor the material securely.
Building the Body: For a more natural look, consider dubbing fur along the hook shank. This technique involves twisting fur fibers around the thread before wrapping it onto the hook. The result is a textured body that mimics the scales or undulating flesh of baitfish and other prey.
Adding the Wing: The wing is an essential part of most streamer patterns. Select a longer hair, such as bear hair or bucktail, and tie it in above the body. Ensure the fibers align well and extend just past the tail to give the fly a streamlined silhouette.
Finishing Touches: Add any additional features like eyes, gills, or flash to enhance the fly’s realism. Small strips of flashy material can be tied in alongside the hair or fur to mimic the reflection of scales. Finish with a few whip finishes and a dab of head cement to secure everything in place. Streamer patterns allow for a lot of creativity and experimentation.
The key is to balance the proportions and choose materials that offer the right blend of movement and realism. With practice, you’ll develop a sense of what works best for the waters you fish and the species you’re targeting.
Caring for Your Materials
Proper care and maintenance of your hair and fur materials are essential for preserving their quality and extending their usability. Neglecting to care for these materials can lead to deterioration, making them less effective for tying flies. Here are some tips for keeping your hair and fur in top condition:
Cleaning: Before storing, ensure your hair and fur are clean. Gently wash them in soapy water to remove dirt, oils, and other impurities. Rinse thoroughly and let them air dry. For more delicate materials, a light misting to remove dust may be all that’s needed.
Storage: Keep your materials in a dry, cool place to prevent mold and mildew. Using plastic zip-lock bags or containers can help protect against moisture and pests. Adding a few silica gel packs to your storage container can further desiccate the environment, preserving the quality of the materials.
Pest Control: One of the biggest threats to hair and fur materials is pests like moths and beetles that can easily destroy them. Use natural deterrents like cedar chips or lavender sachets in your storage containers. Alternatively, chemical treatments like mothballs can be effective but may leave an odor.
Handling: Handle your hair and fur materials with clean hands to avoid transferring oils and dirt. When tying, avoid using more force than necessary, as excessive handling can wear down the fibers.
Regular Inspections: Periodically inspect your materials for signs of damage or infestation. Look for broken fibers, discoloration, or small holes, which can indicate pest activity. Catching these issues early can save your entire collection from being compromised. Proper care extends beyond just the materials themselves. Ensure your tying space is clean and organized as well. Surfaces should be wiped down regularly to remove dust and debris. Using a dedicated space for tying can help manage cleanliness and keep your materials in optimal condition.
By following these care guidelines, you’ll ensure that your hair and fur materials remain in excellent condition, ready for your next fly tying project. Investing time in proper care will pay off in the long run, allowing you to create high-quality flies for years to come.
Conclusion
The art of fly tying is a journey of continuous learning and improvement, and the use of hair and fur can significantly elevate your craft. From selecting the right materials to mastering techniques like spinning and securing, each step requires attention to detail and a bit of practice. However, the rewards are well worth the effort, as the flies you create will not only look lifelike but also perform effectively in various fishing conditions. The natural movement and texture provided by hair and fur make them indispensable in many fly patterns, from buoyant dry flies to enticing streamers.
Understanding the properties of different types of hair and fur, and knowing how to handle and care for them properly, will give you a solid foundation for creating a wide range of effective and aesthetically pleasing flies. Whether you’re targeting trout in a mountain stream or bass in a local pond, the skills you develop in tying with hair and fur will enhance your fishing experiences. These techniques are more than just practical; they connect you to a long tradition of craftsmanship in fly fishing.
As you continue to hone your skills, remember that each fly you tie is an opportunity to innovate and express your creativity. In conclusion, mastering hair and fur techniques in fly tying is both a science and an art. It requires knowledge, practice, and a passion for the craft. By investing time and effort into learning these techniques, you’ll not only improve your fly tying abilities but also gain a deeper appreciation for the intricate world of fly fishing. So gather your materials, sit down at your tying bench, and let the journey begin. For more tips, tutorials, and insights into the world of fly tying, be sure to explore other resources on our website. Happy tying and tight lines!


